DIY concrete flower pot & Bluetooth speaker enclosure
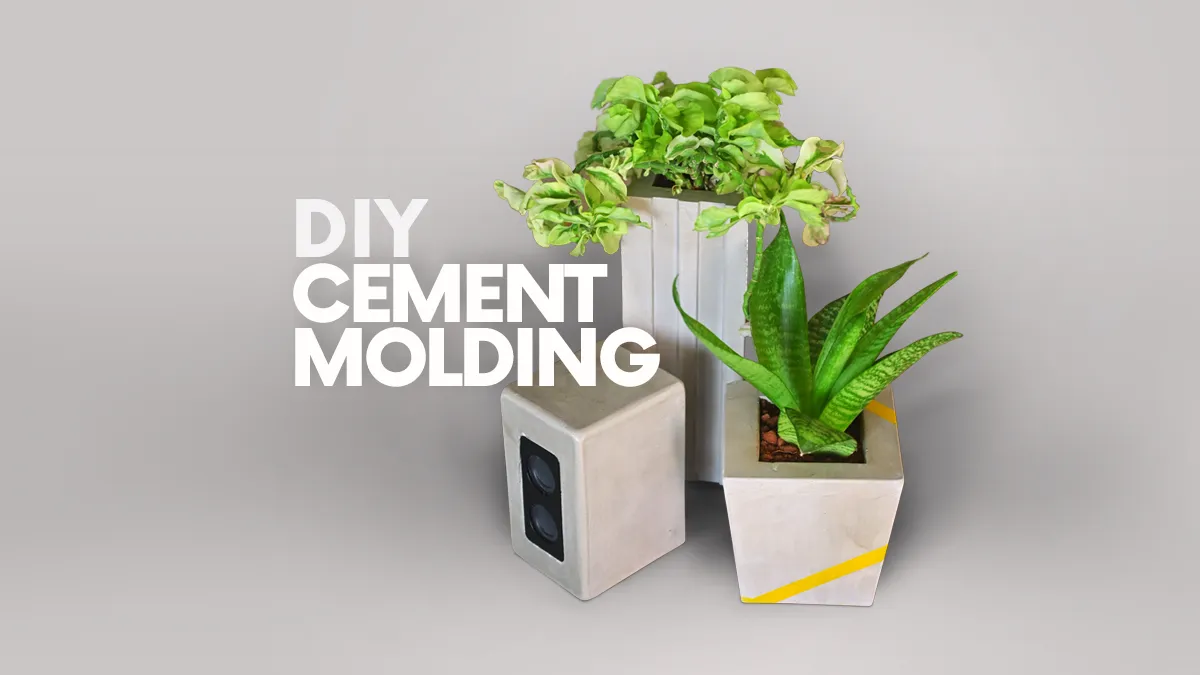
Transforming cement into elegant home décor
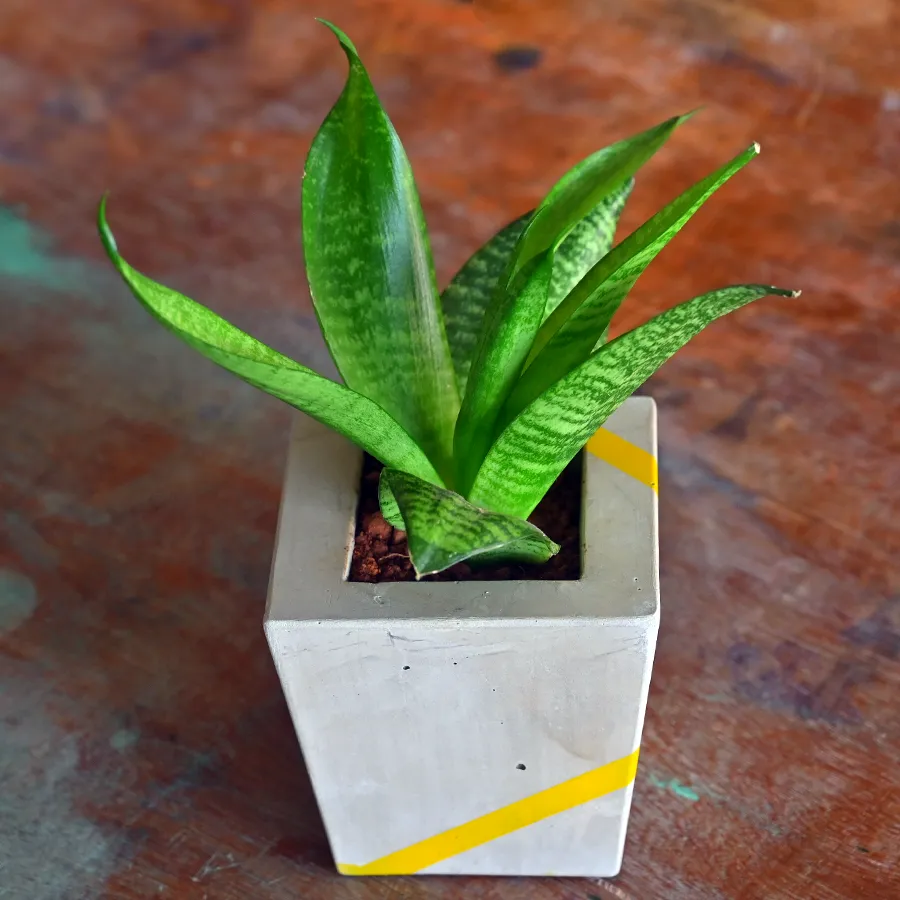
Homemade concrete flower planter and Bluetooth speaker enclosure
In the world of DIY crafts, cement transforms into artful, functional pieces. In this DIY cement casting and molding project, I crafted two items: a concrete flower pot and a Bluetooth speaker enclosure. I used foam board molds in two thicknesses (4 mm and 2 mm) for flexibility, allowing for detailed, smooth finishes. From shaping to final touches, I’ll walk you through a step-by-step process for crafting these unique pieces.
1. Crafting a medium-size concrete flower pot
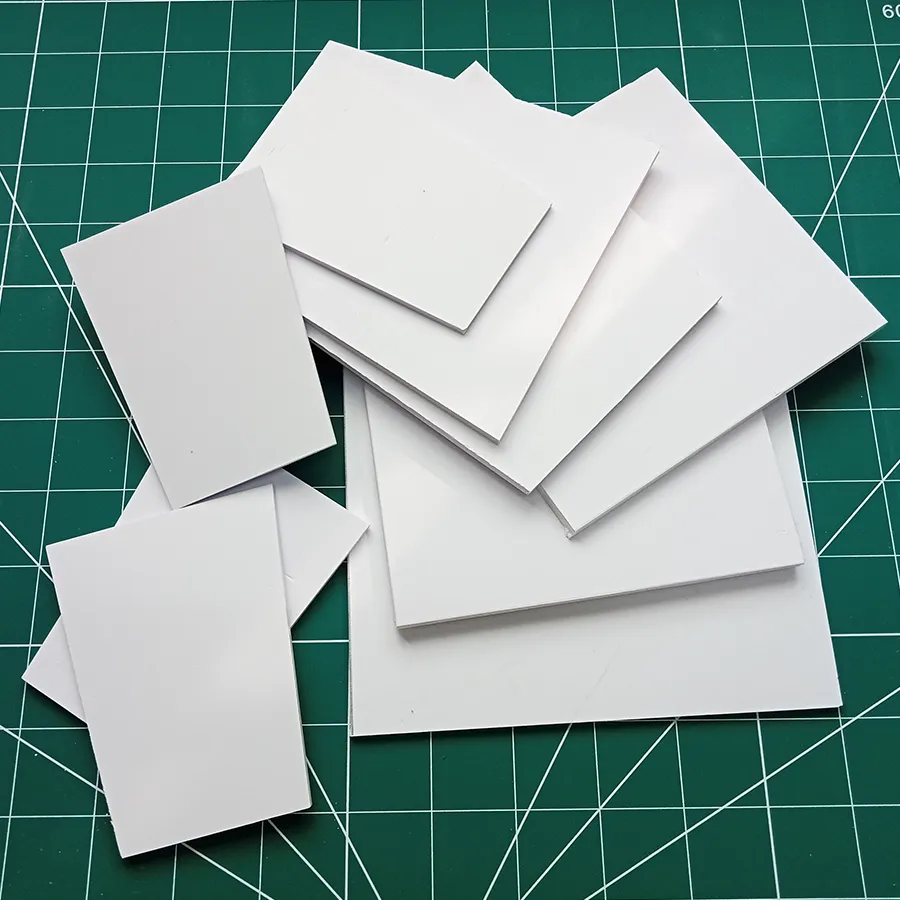
Design and Structure for homemade concrete flower planter
I started with a rough sketch to conceptualize the pot’s form and function. After finalizing the design, I cut foam panels—4 mm for larger surfaces and 2 mm for detailed shapes. However, the 2 mm foam couldn’t support the wet cement’s weight, causing a slight curve instead of a flat surface. My first attempt with 2 mm foam collapsed while casting.
Creating the truncated pyramid structure
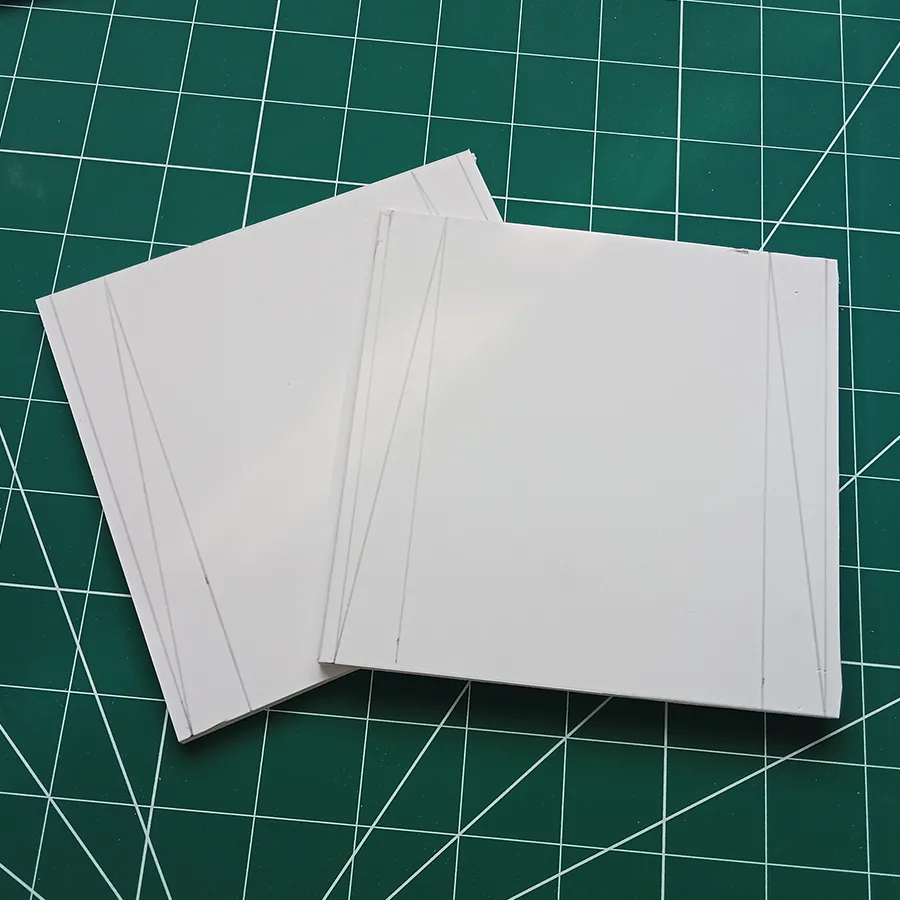
I created four side panels: two trapezoidal cut pieces and two square panels. Each square panel had matching trapezoidal guide lines, angled at 10 degrees, to construct a truncated pyramid structure.
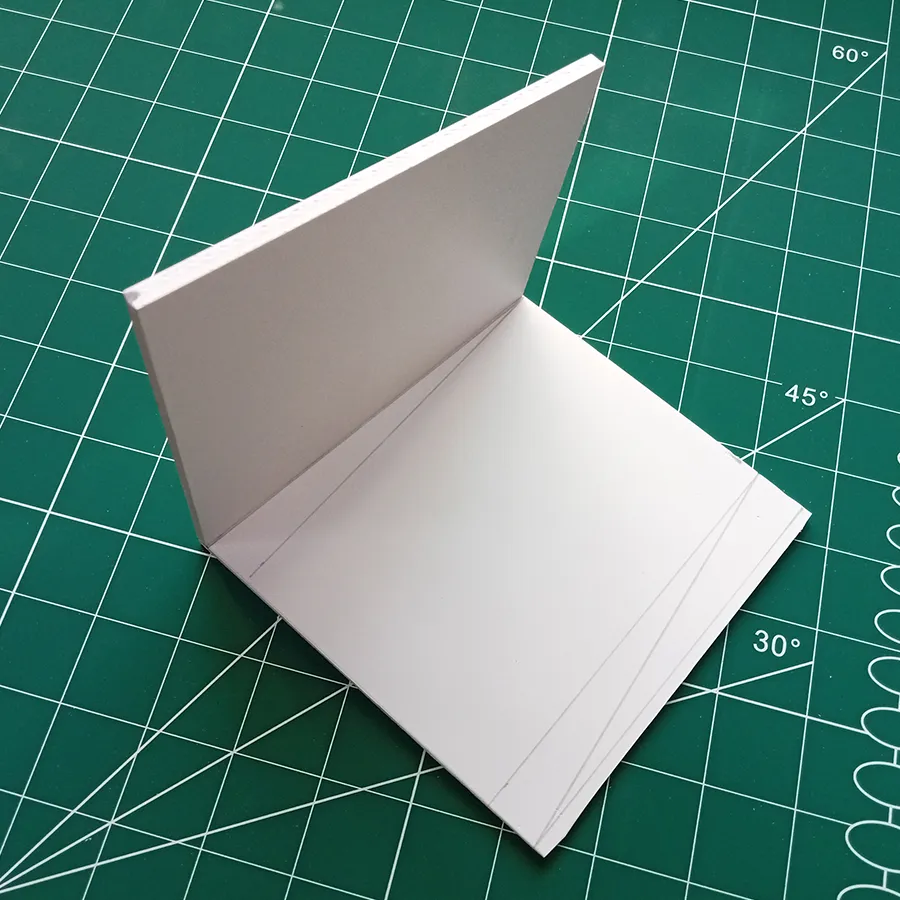
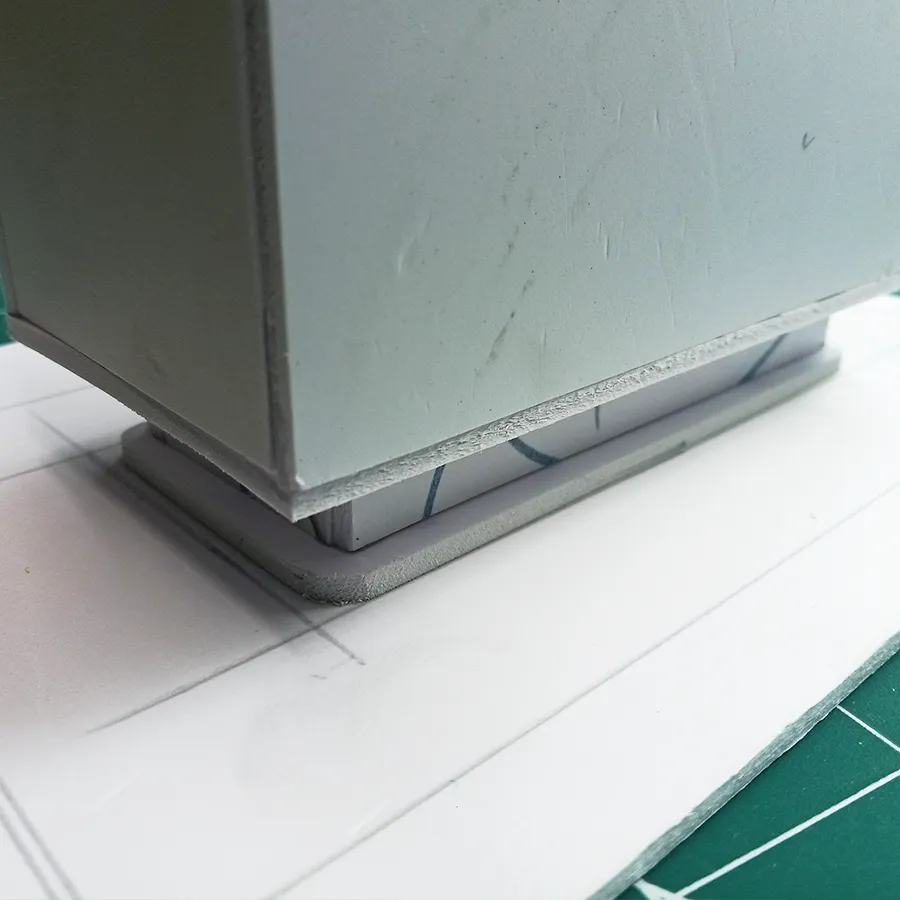
I secured the custom-cut trapezoidal panels to the square panels, aligning them precisely with the trapezoidal guide line. Careful alignment during attachment ensured the top and bottom edges matched evenly. For the molding process, I positioned the pot mold upside down on the base to cast the cement. This approach resulted in sharp, polished surface finishes and clean edges at the top of the pot after curing.
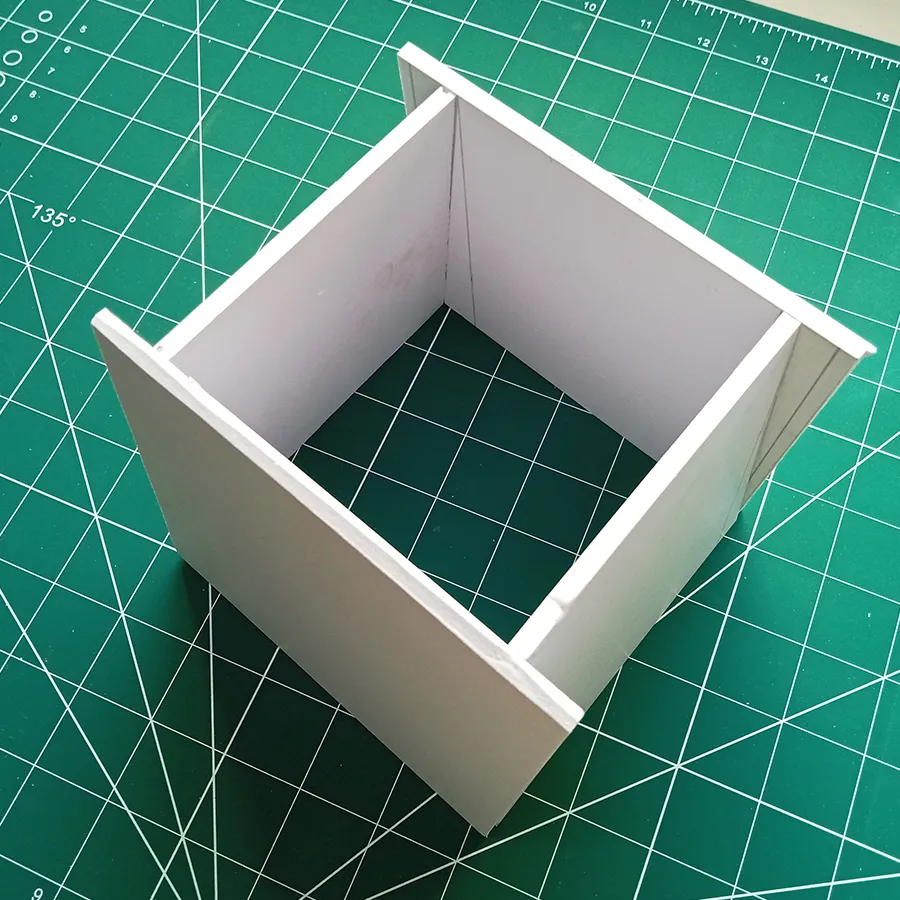
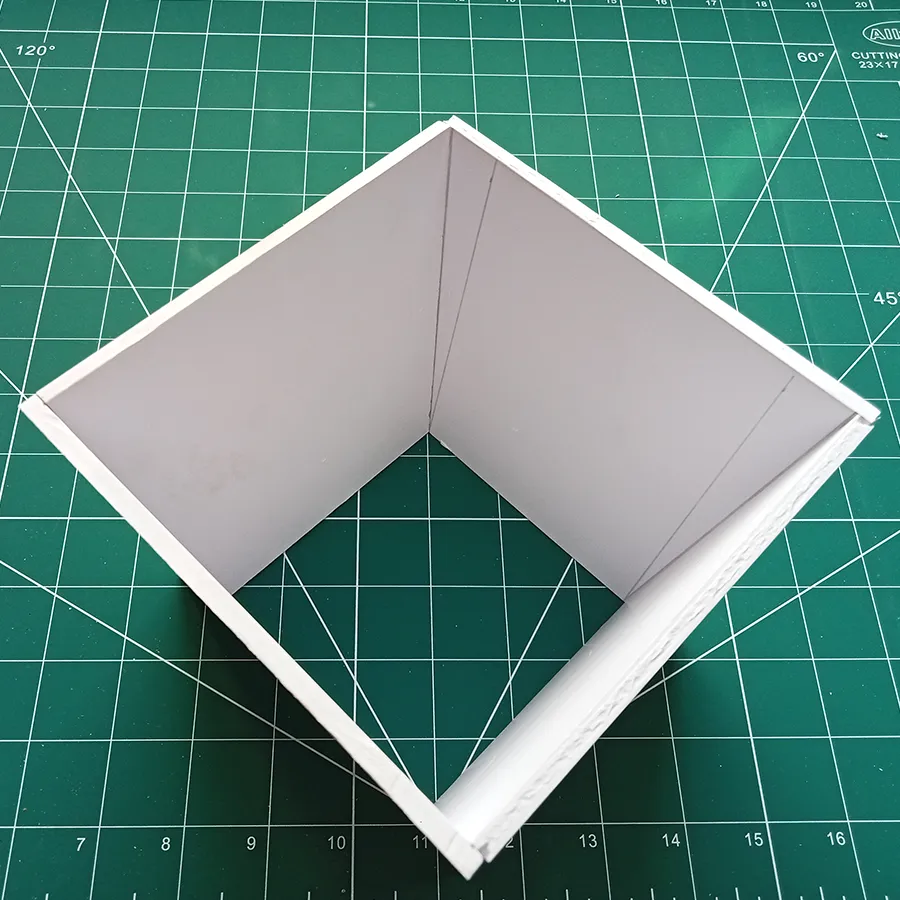
Bottom and top views of the outer truncated pyramid structure.
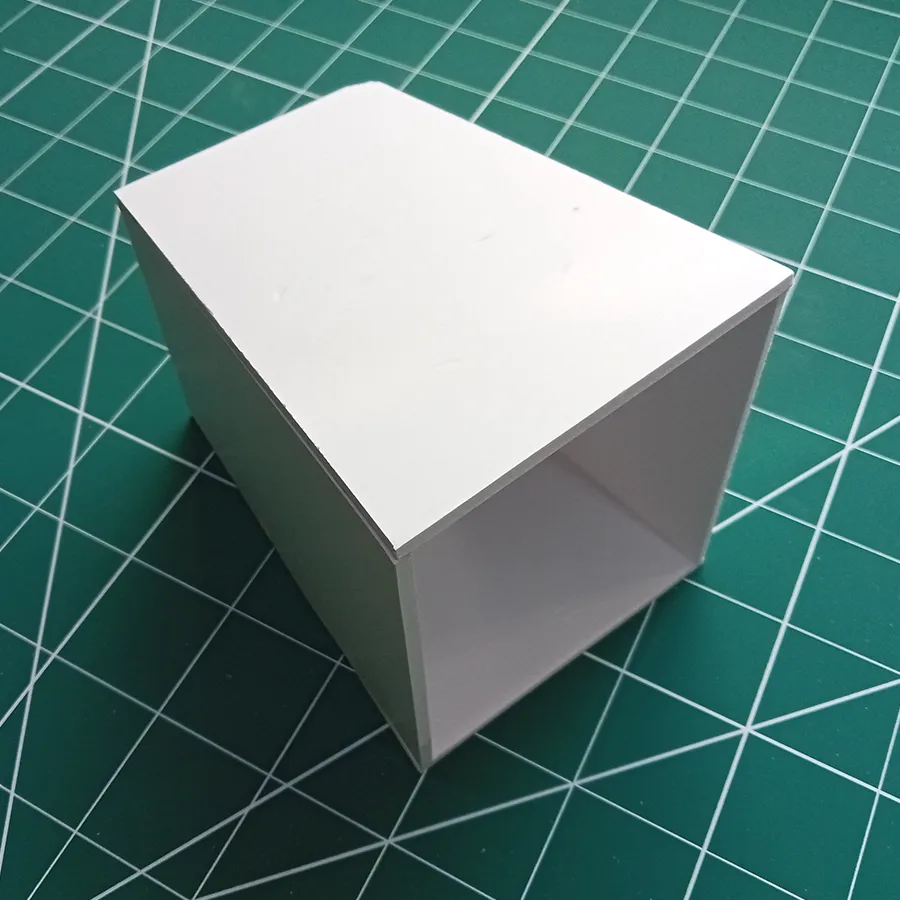
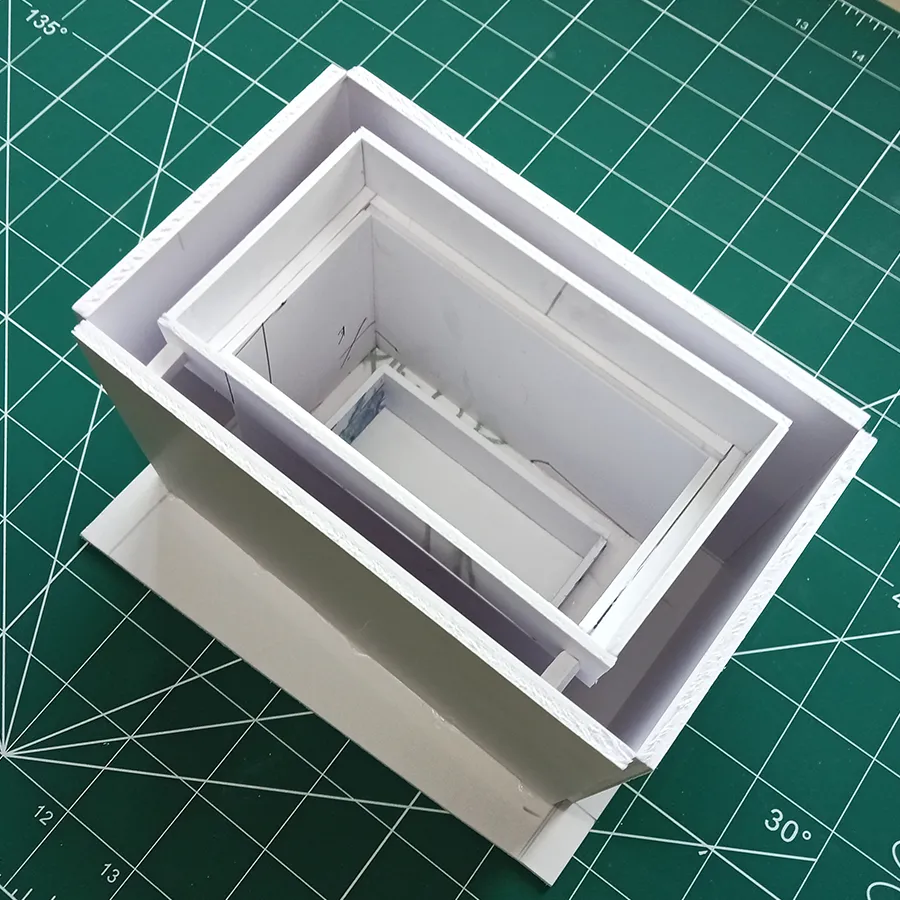
I created an inner truncated pyramid structure using 2mm foam board, making its width 2 cm shorter and its height 3 cm shorter than the outer truncated pyramid. This design ensures a 2 cm thickness for the pot and a 3 mm thickness for the base.
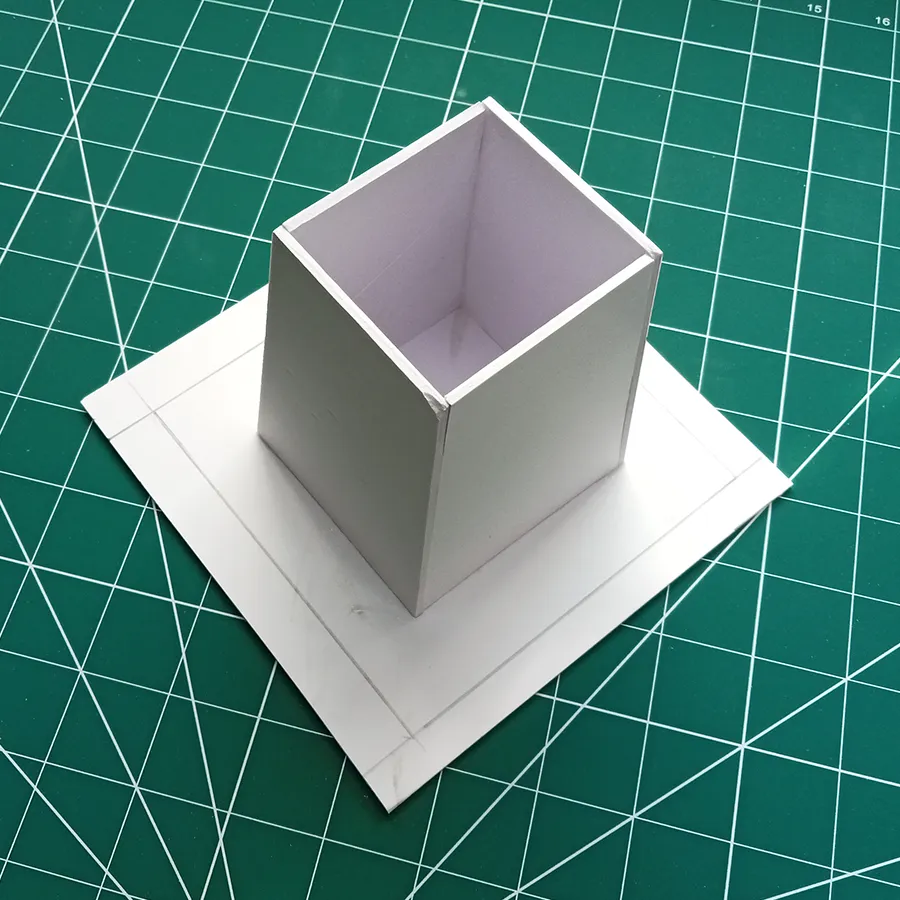
I marked the outlines for both the inner and outer panel positions on the base and attached the inner panels first. It’s important not to attach the foam sheets too firmly, as this would make disassembly difficult after the cement paste cures.
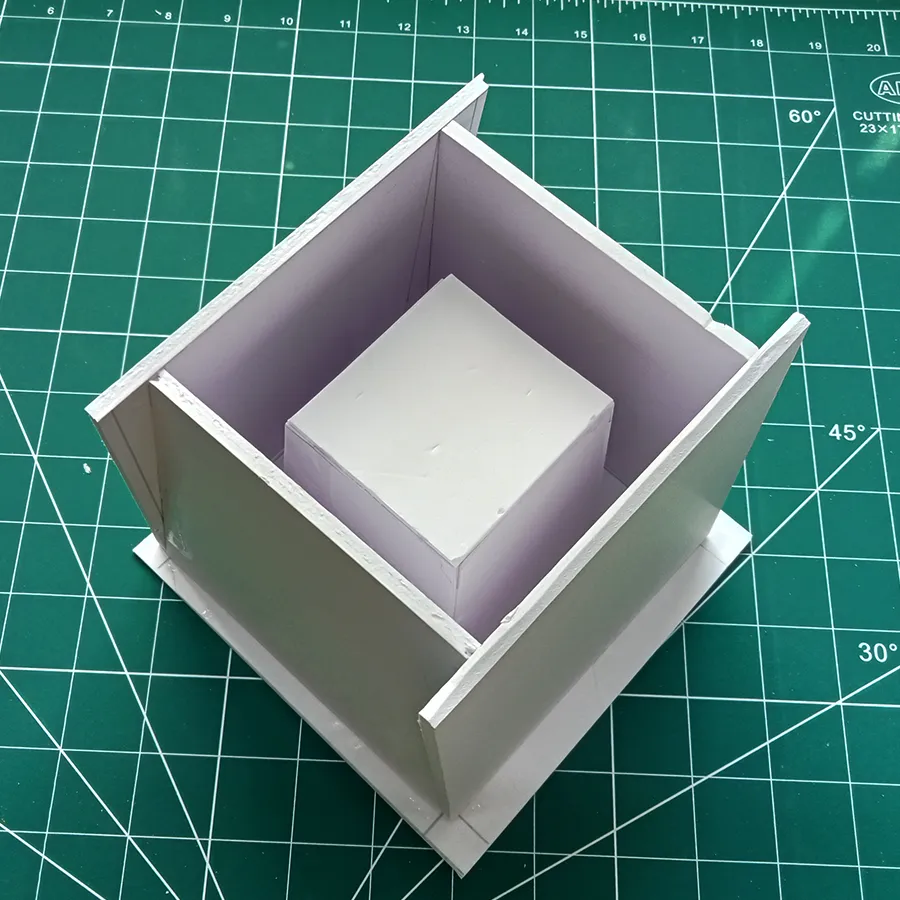
The final step was attaching the outer truncated panels, and it is ready for the casting.
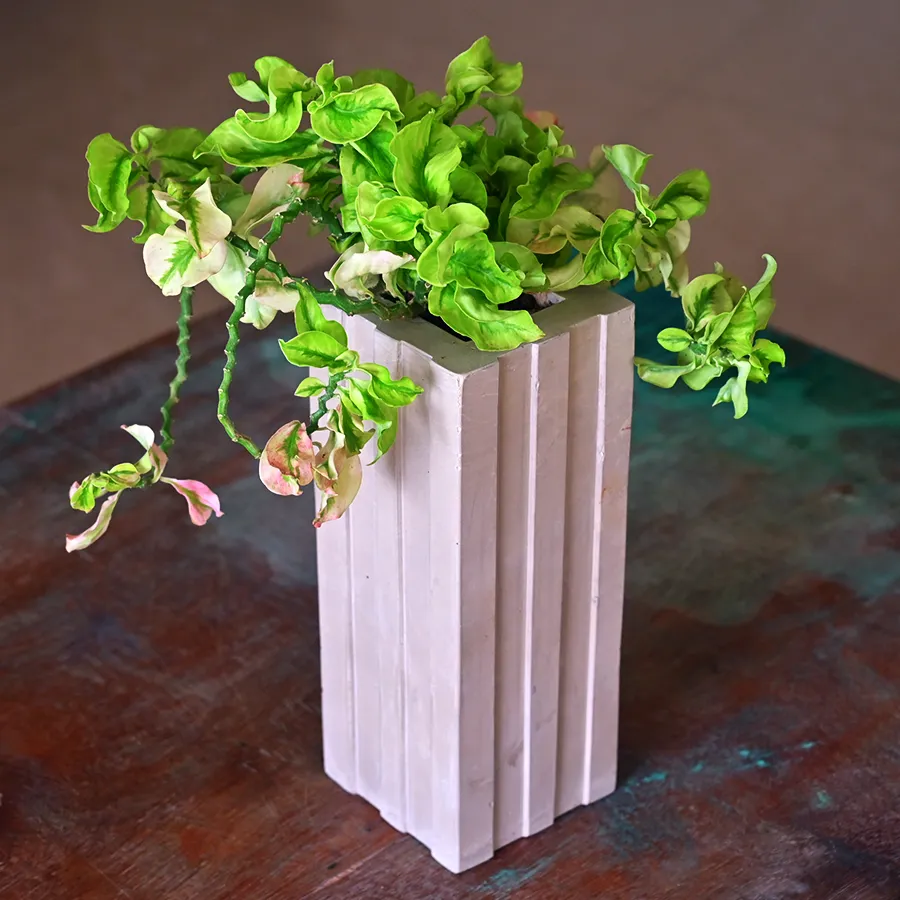
2. Tower-type DIY concrete flower pot
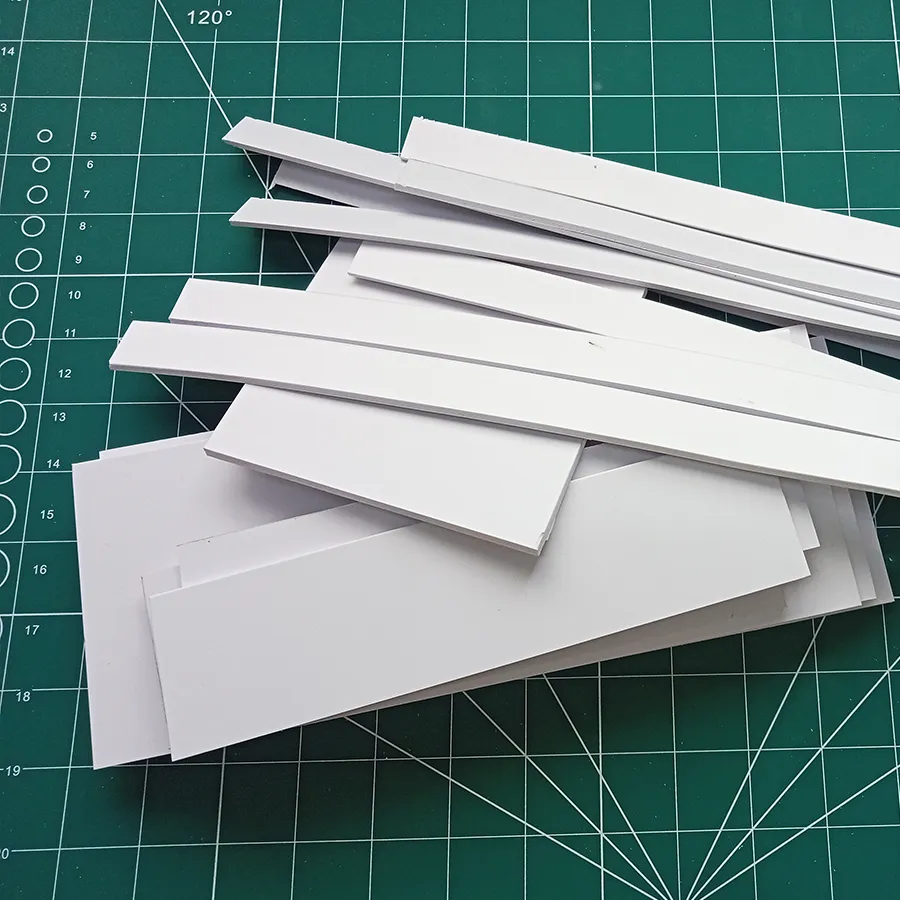
I custom-cut foam pieces to create a tall pot, using 4mm foam for the outer mold panel. To achieve a refined design, I chose 2mm foam for the strip pattern on the outer surface.
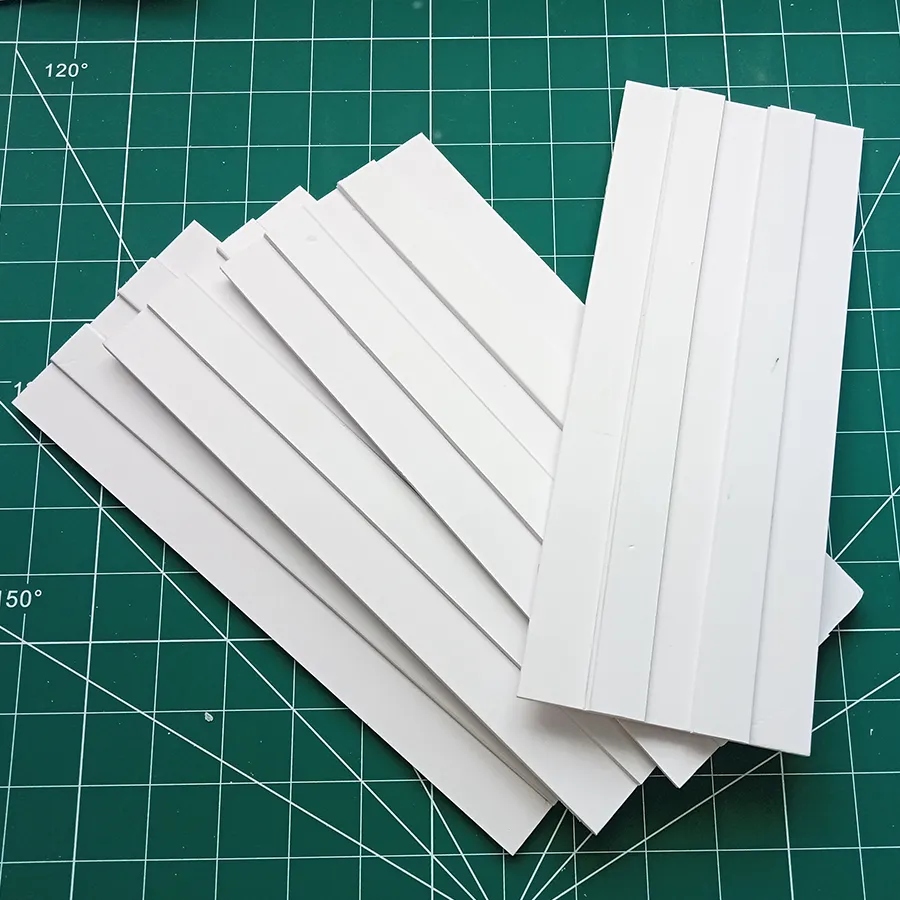
Making a strip pattern on the outer surface for the DIY concrete flower pot.
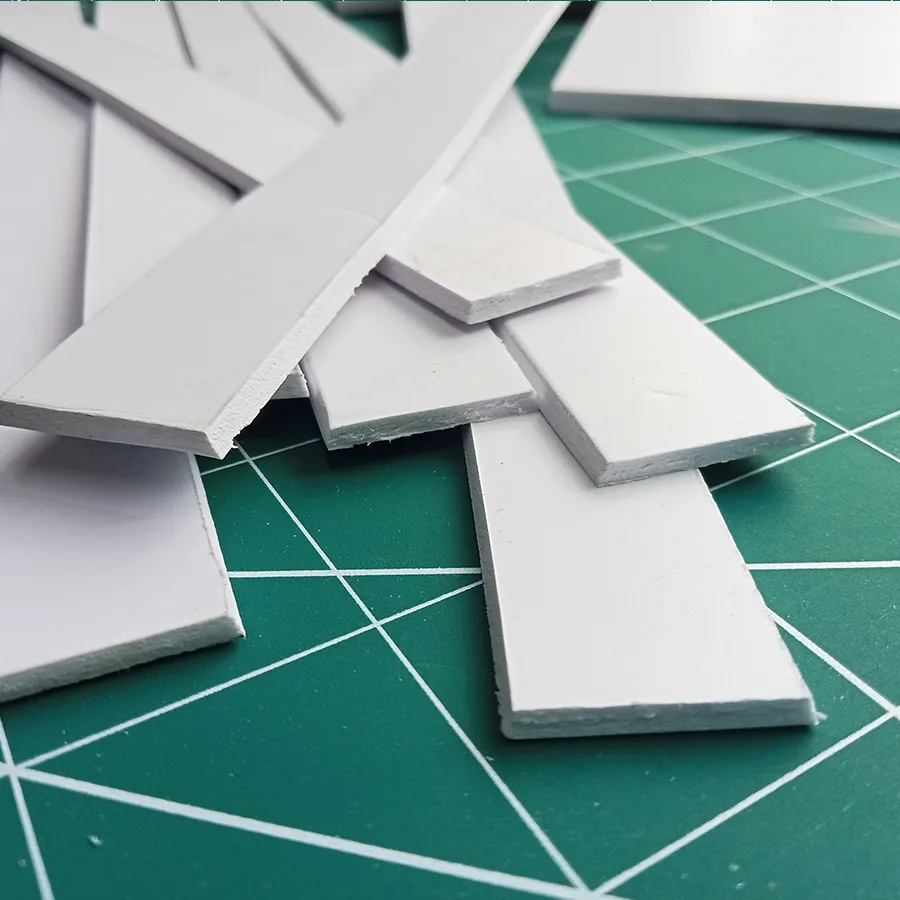
To create a striped pattern on the outer surface, I used 2mm thick foam. I cut the strips with both edges angled diagonally, which made it easier to remove them once the cement solidified.
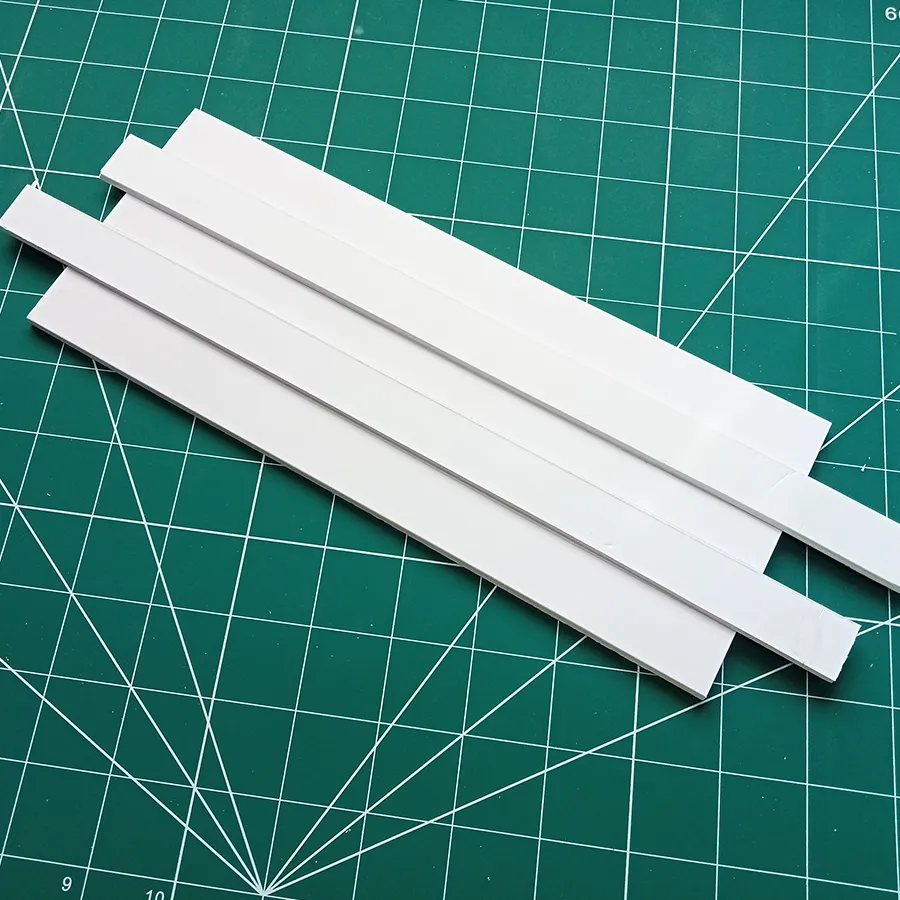
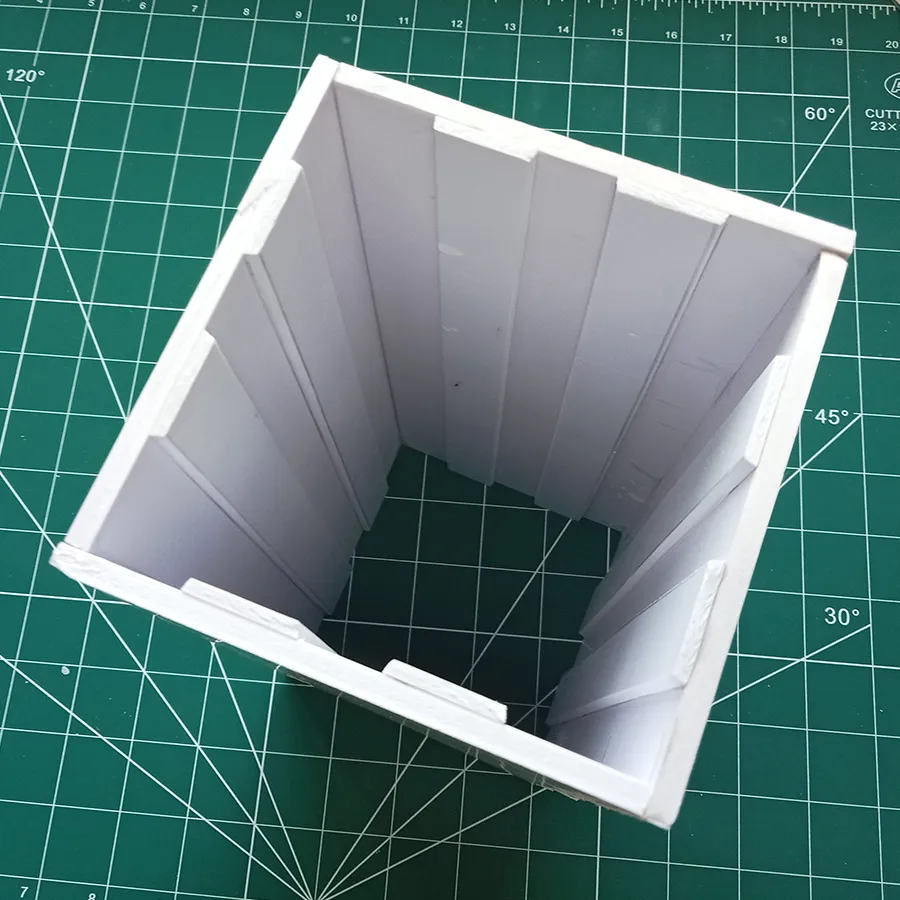
I attached the four panels together to create a tall rectangular tube, ensuring that the top and bottom edges of each panel were aligned evenly.
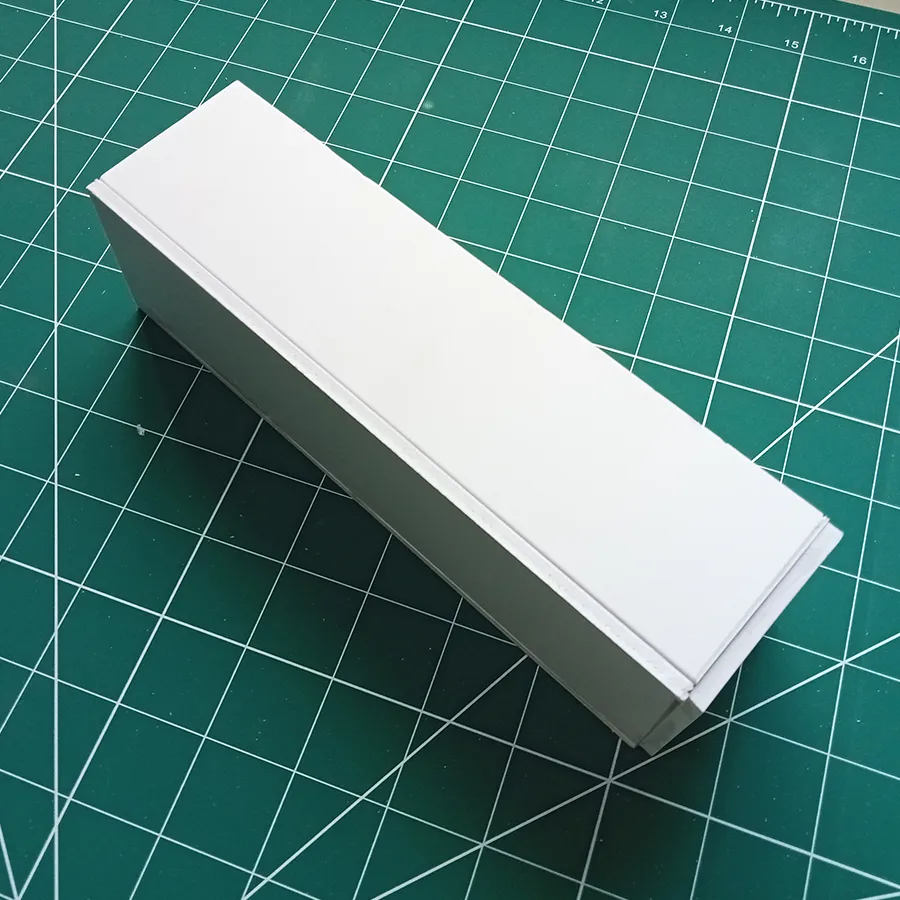
Next, I created an inner rectangular tube to form a cavity for casting. Its width is 2 cm, and its height is 4 cm shorter than the outer tube.
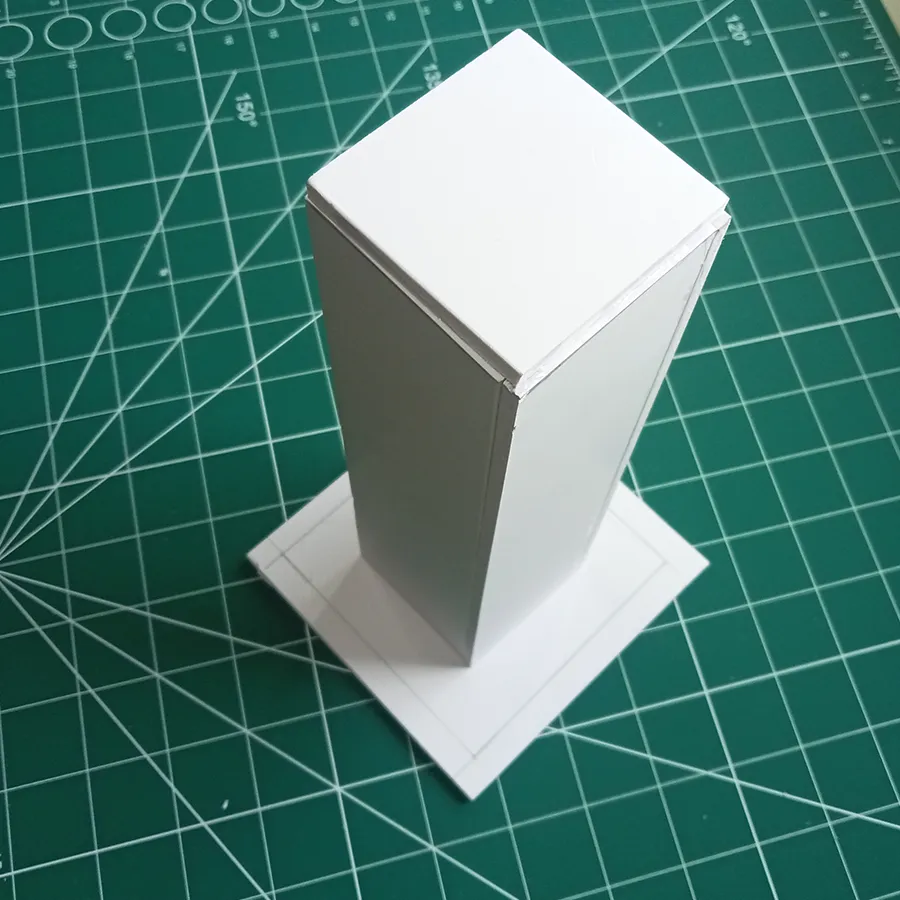
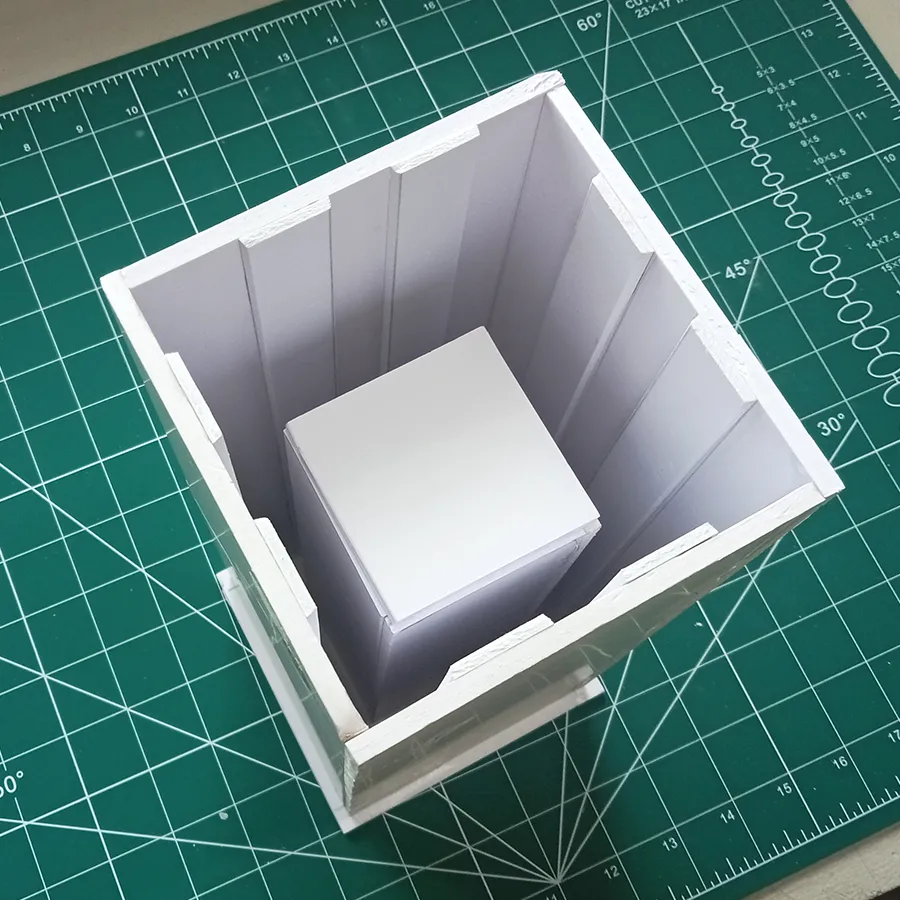
The inner rectangular tube is attached to the base, aligned with the markings; similarly, the outer tube is aligned with the outer markings and attached. It is now ready for the casting process.
3. Bluetooth speaker enclosure
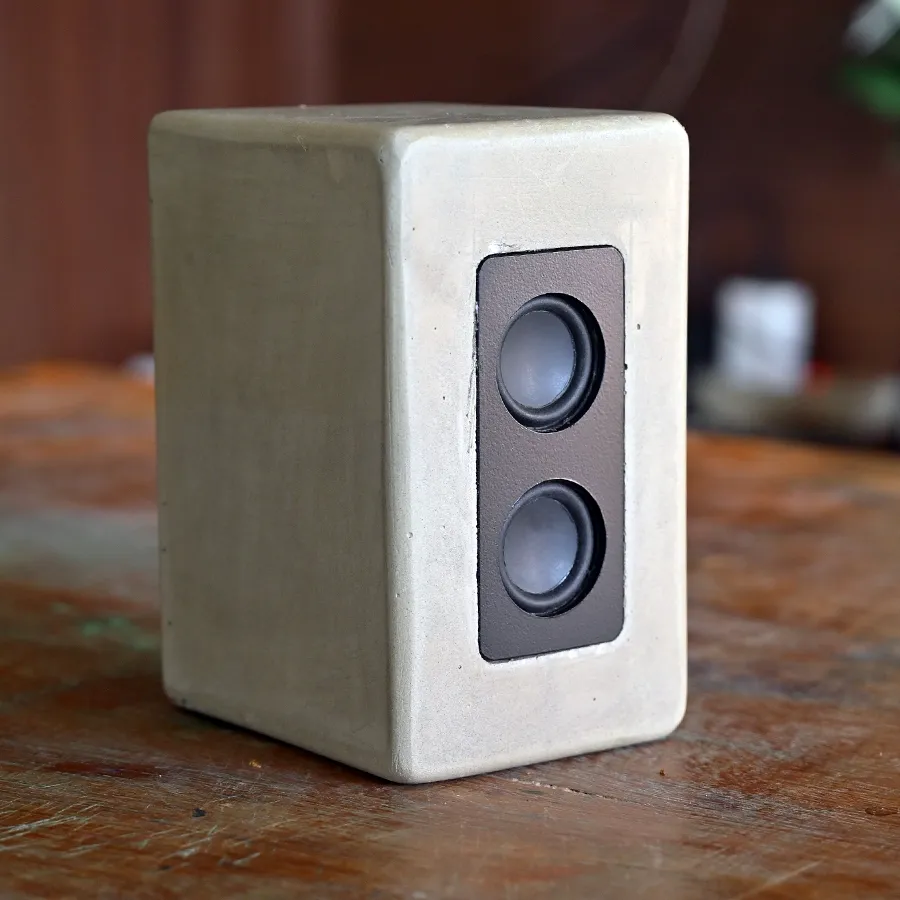
Compared to the flower pot design, the speaker enclosure posed more challenges due to the need for mounting provisions for the speaker, circuit board, and battery. This complexity made the design process more difficult. To address this, I chose to use both 4mm and 2mm foam for construction, which allowed me to create a more precise and sturdy mold. This approach ensures a well-structured enclosure that effectively accommodates all the necessary components.
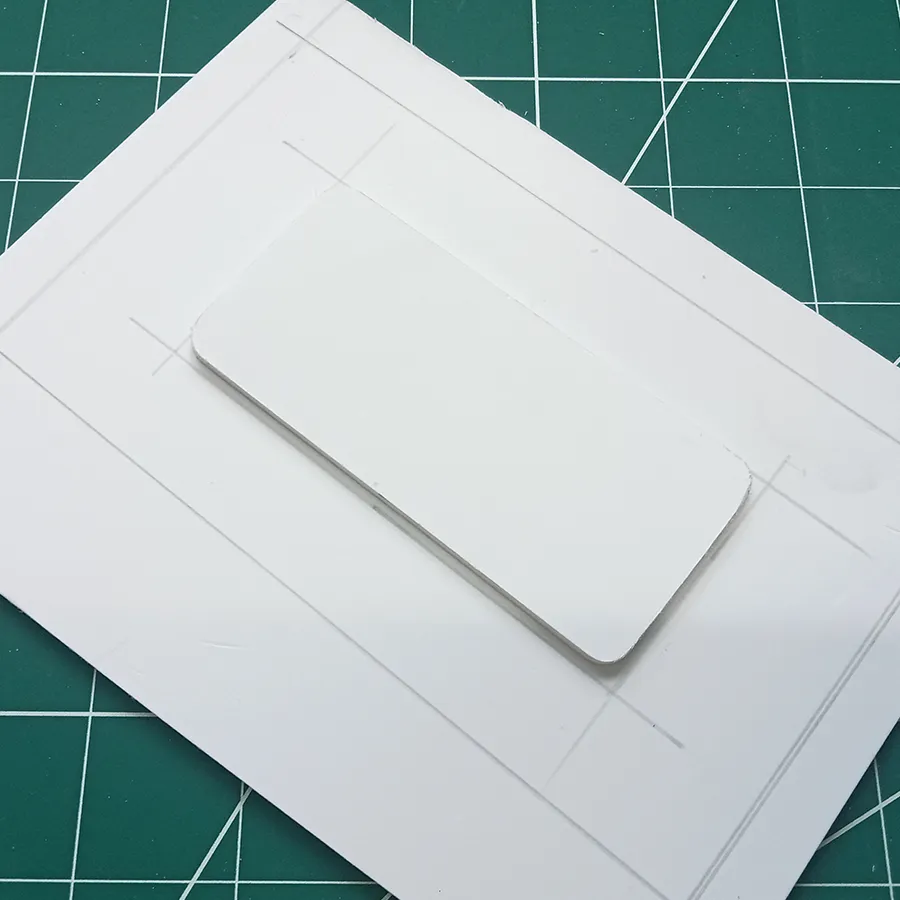
This base structure includes a provision for mounting the speaker panel onto the enclosure.
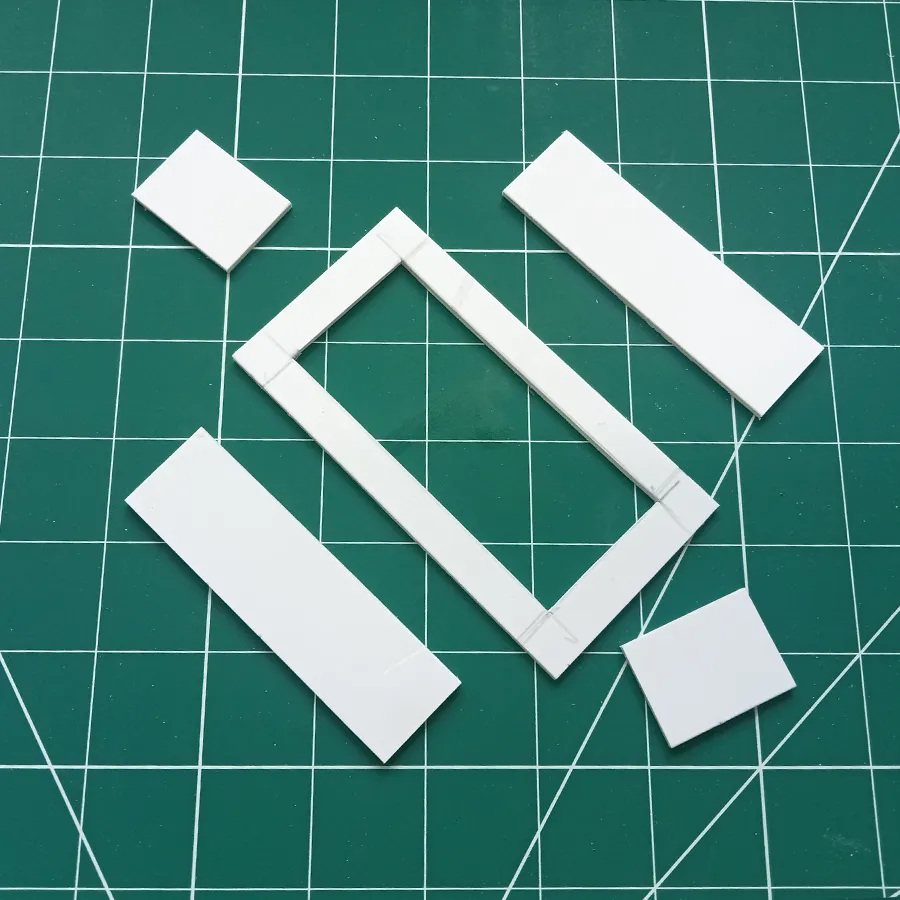
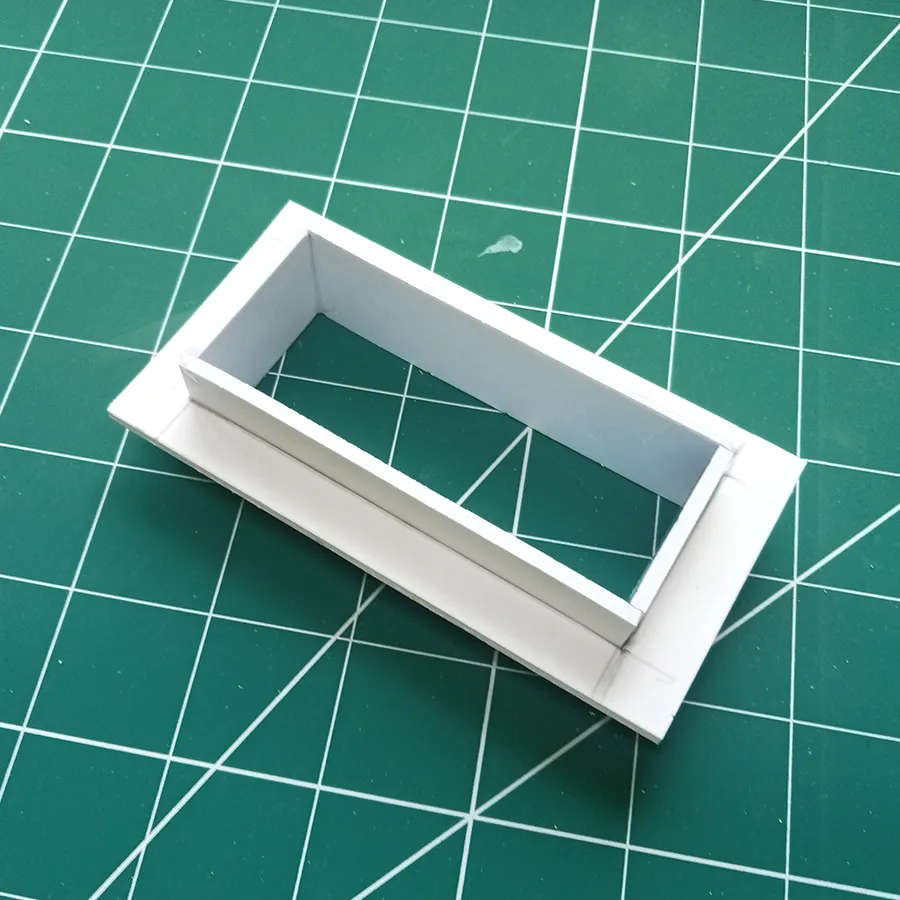
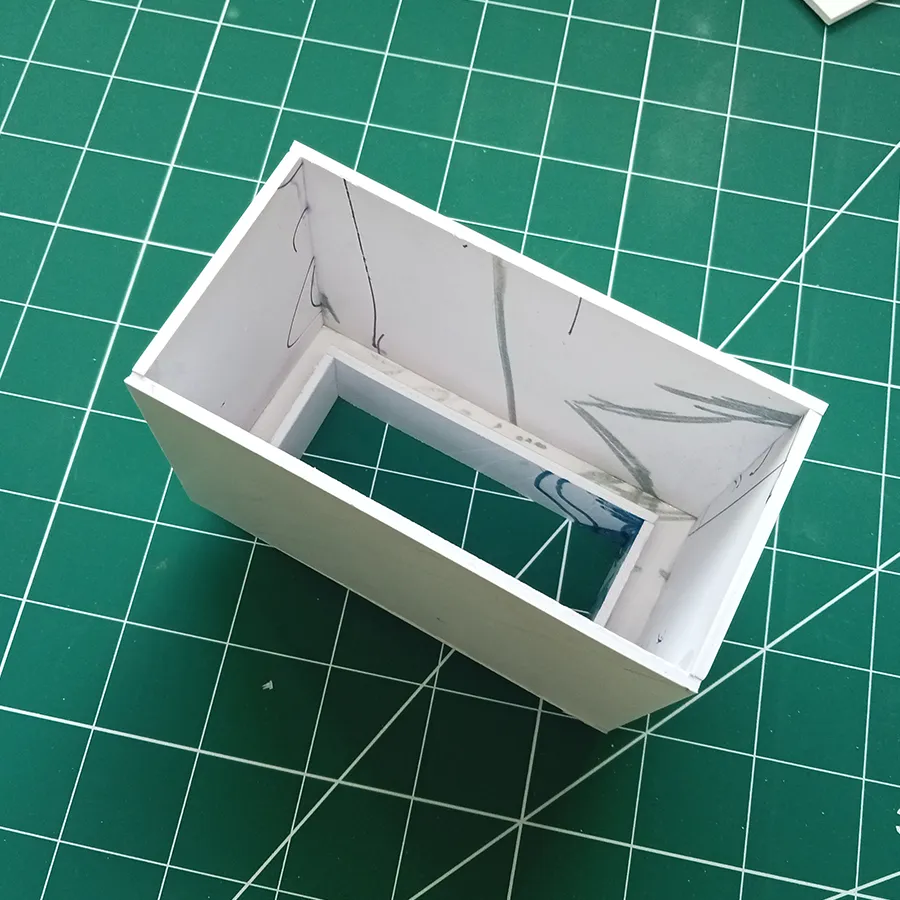
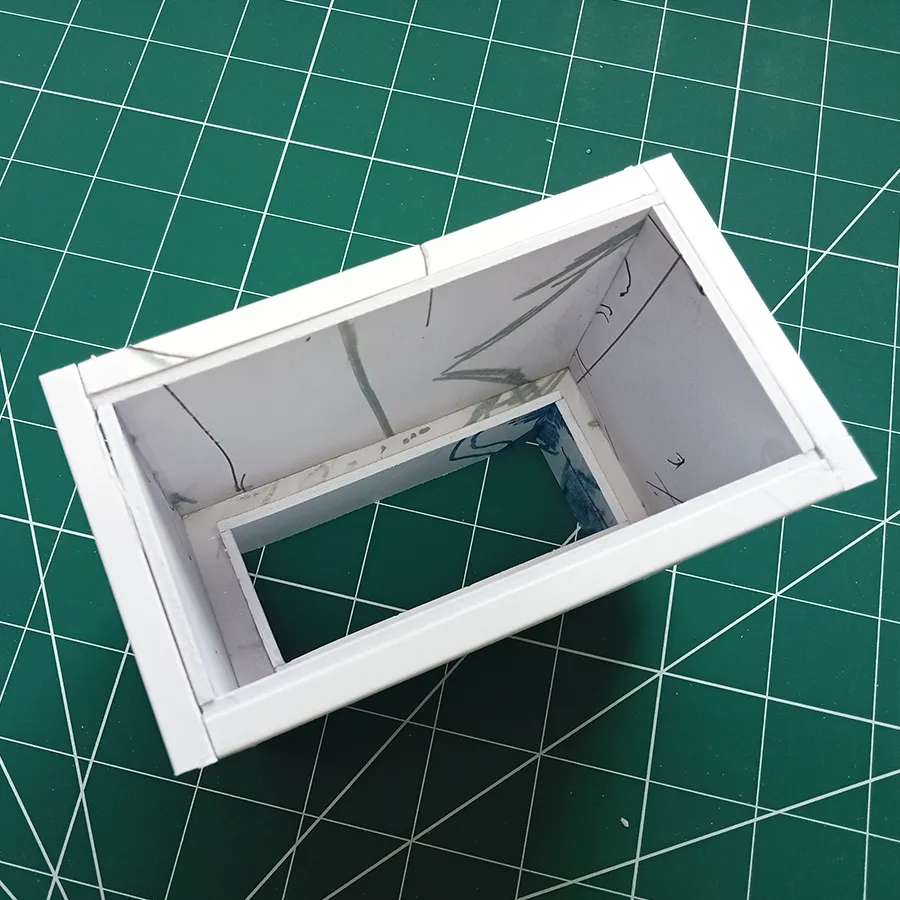
This structure is designed to create a hollow section on the front of the enclosure to house the speaker panel. Next, I attached a foam panel vertically to form the inner walls, followed by a horizontal 6mm strip to provide a mounting space for the back cover panel.
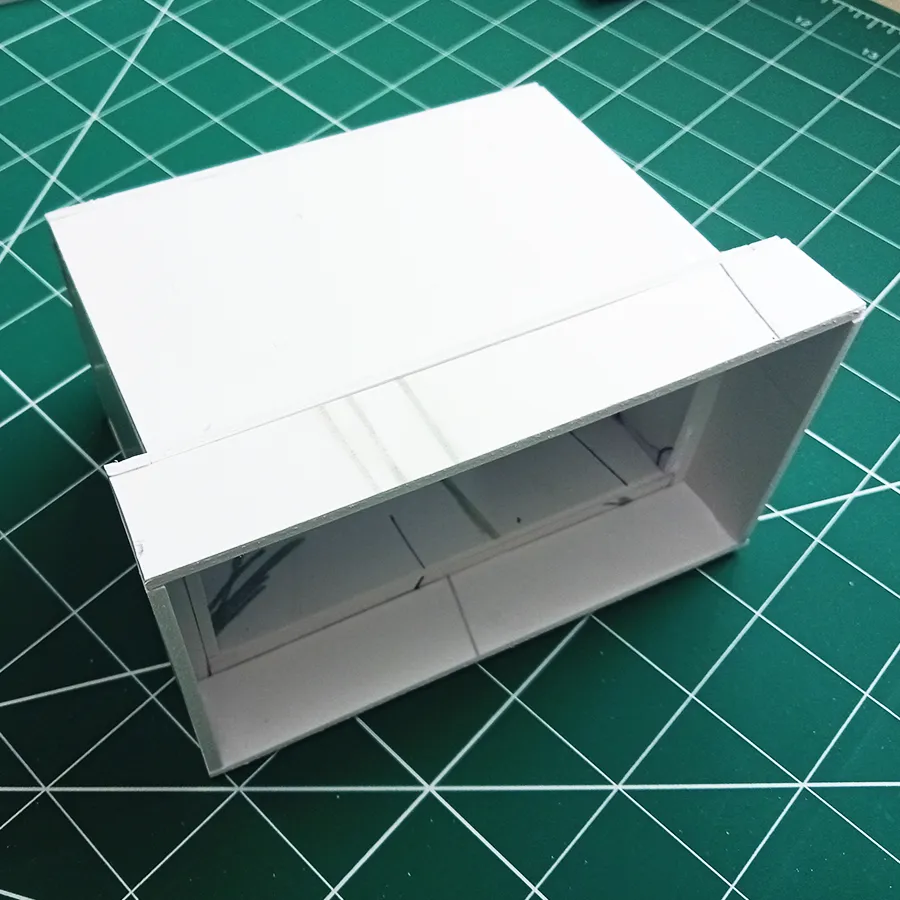
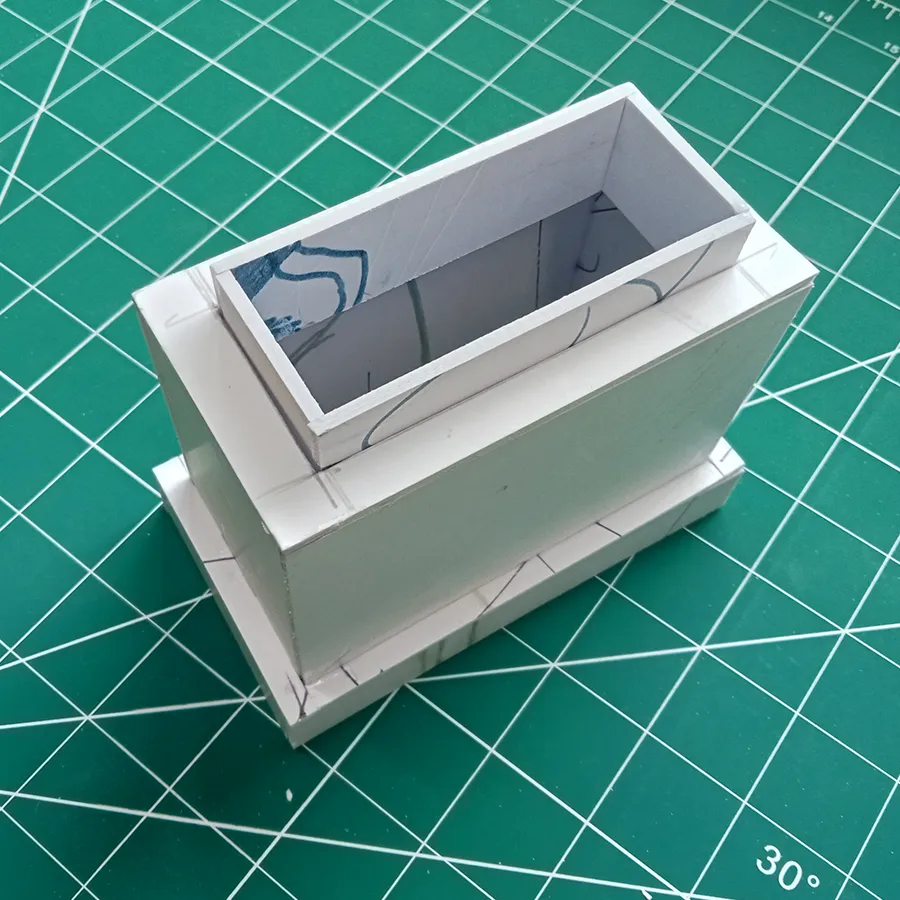
I then attached a 2cm high strip vertically over the above structure to create an extrusion.
Then I attached the completed above structure on to the base.
Completed structure ready for casting.
4. DIY concrete flower pot—casting process
For casting, I mixed gray and white cement, using white cement to achieve a finer, smoother surface. I combined 60% gray cement with 40% white cement for the mixture. Using a small spatula, I poured the cement and stirred it with a stiff stick, ensuring it reached every corner and surface. I prepared the cement to a medium-thick, gel-like paste. Before starting, I secured the outer surfaces with masking tape to stabilize the panels, which reduced the risk of detaching due to the weight of the wet cement mixture.
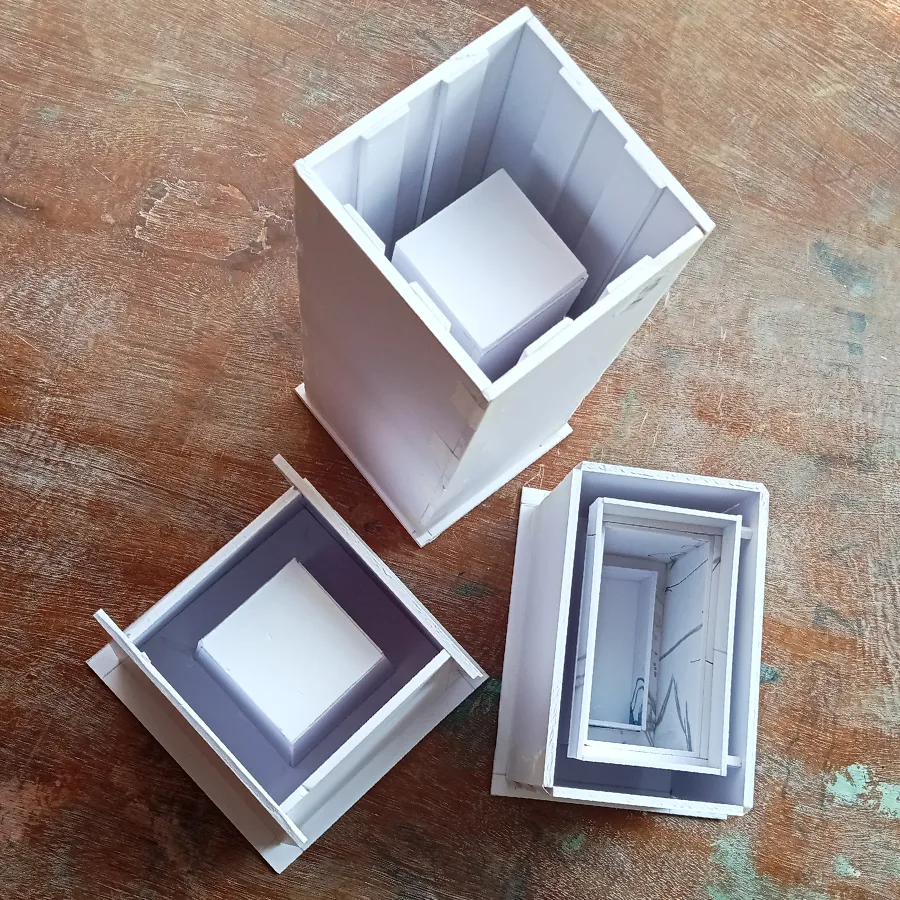
Mold structures ready for casting.
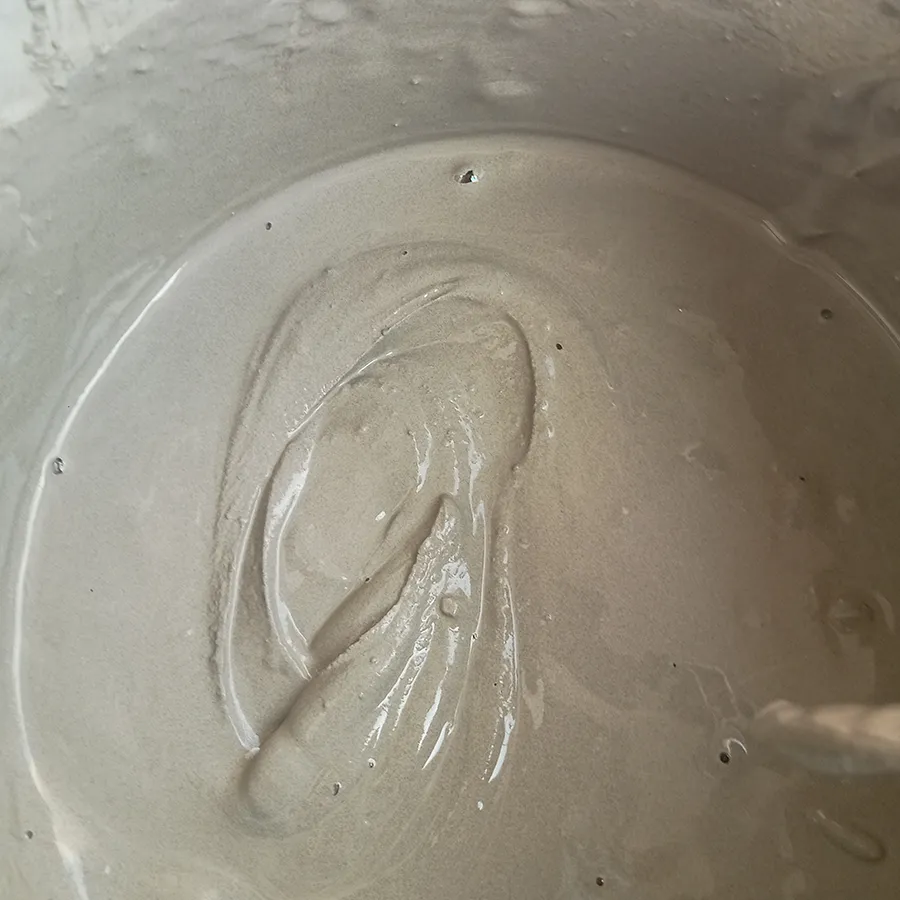
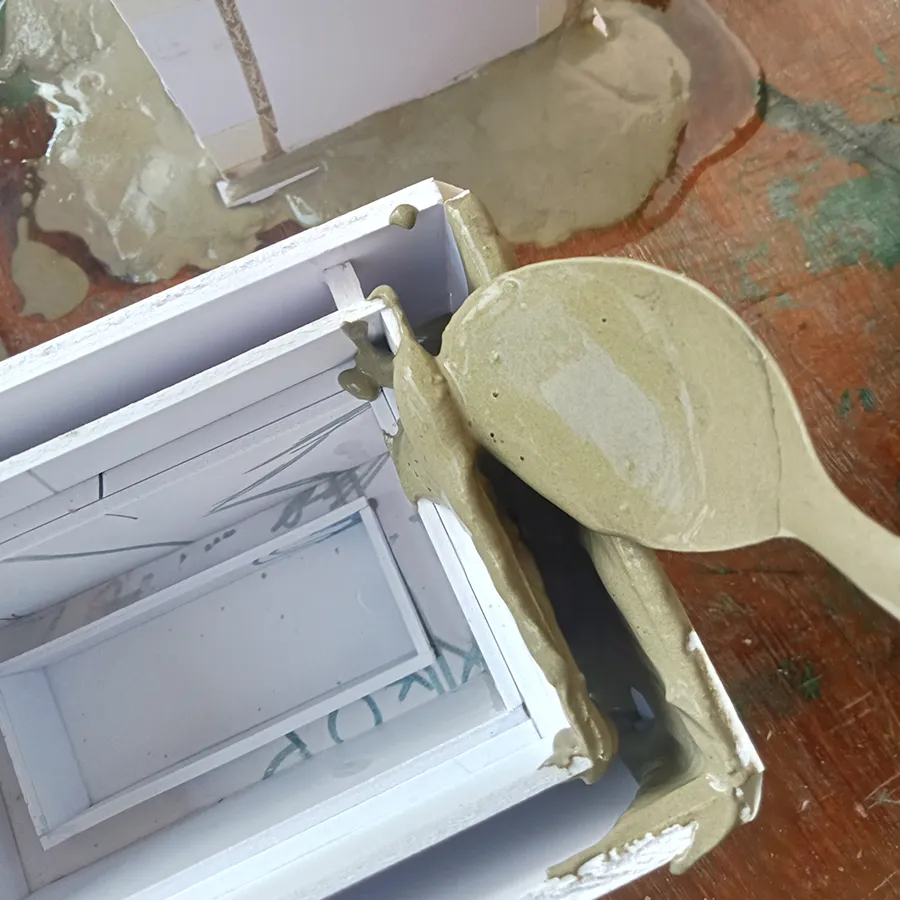
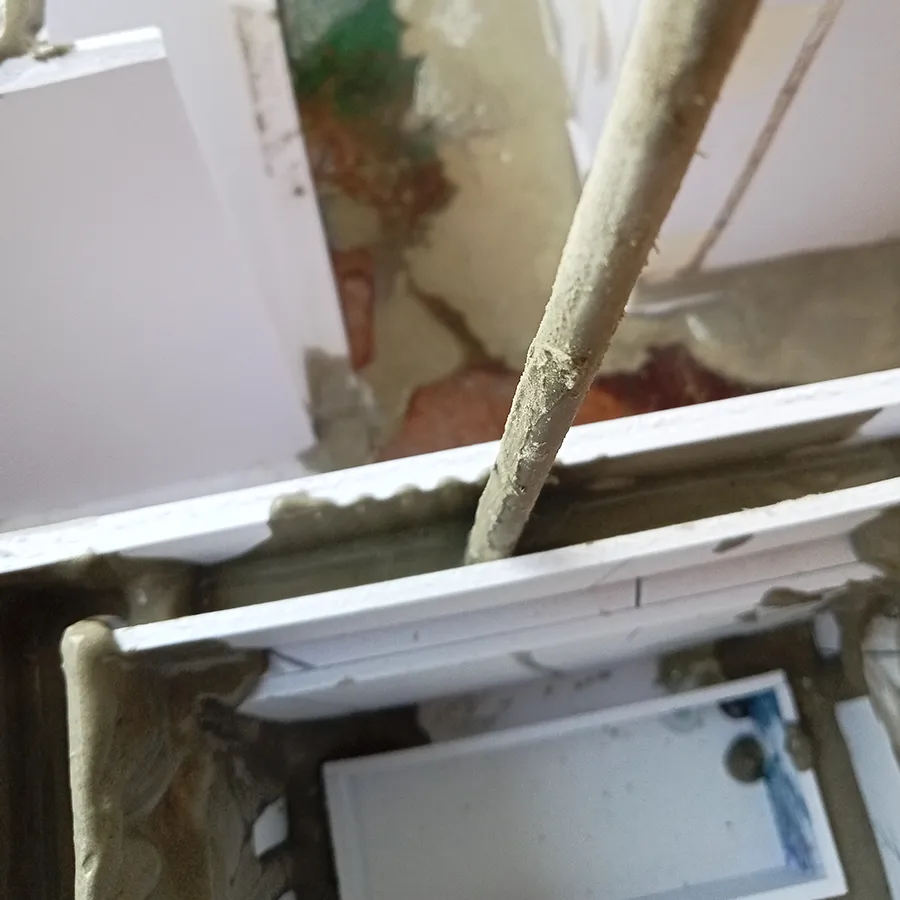
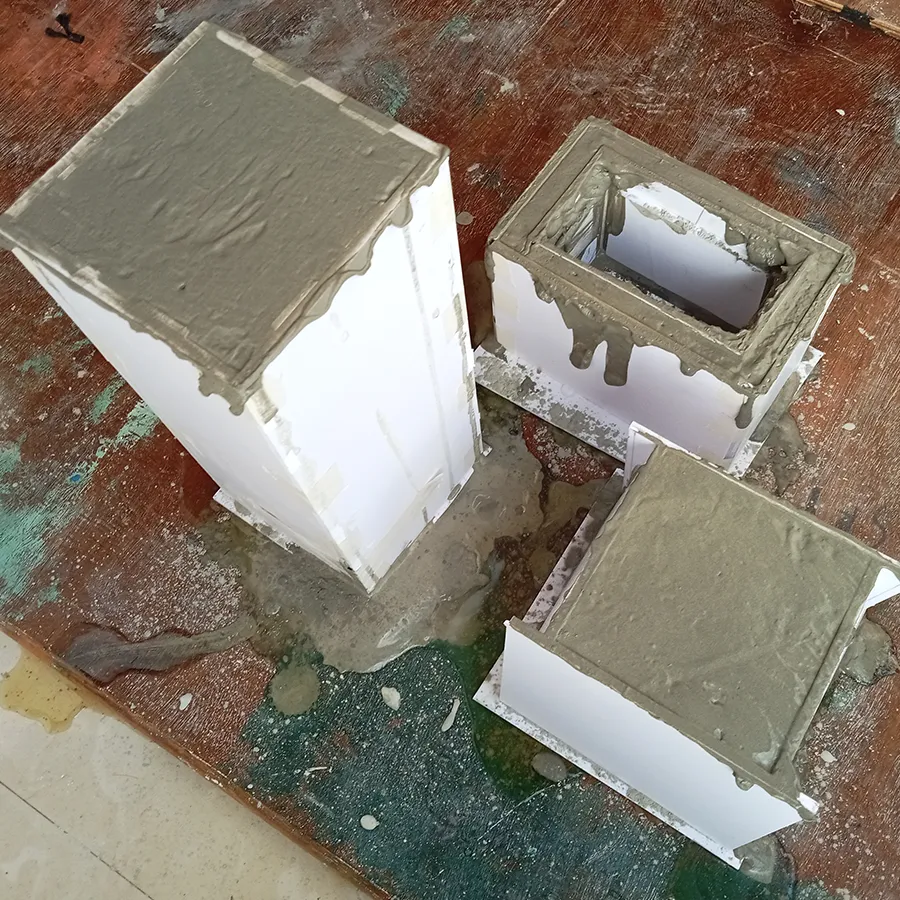
I poured the mixture into the mold cavity and stirred it thoroughly. After completing the casting, I manually polished the base of the pot and the back of the speaker enclosure once the excess water had fully drained.
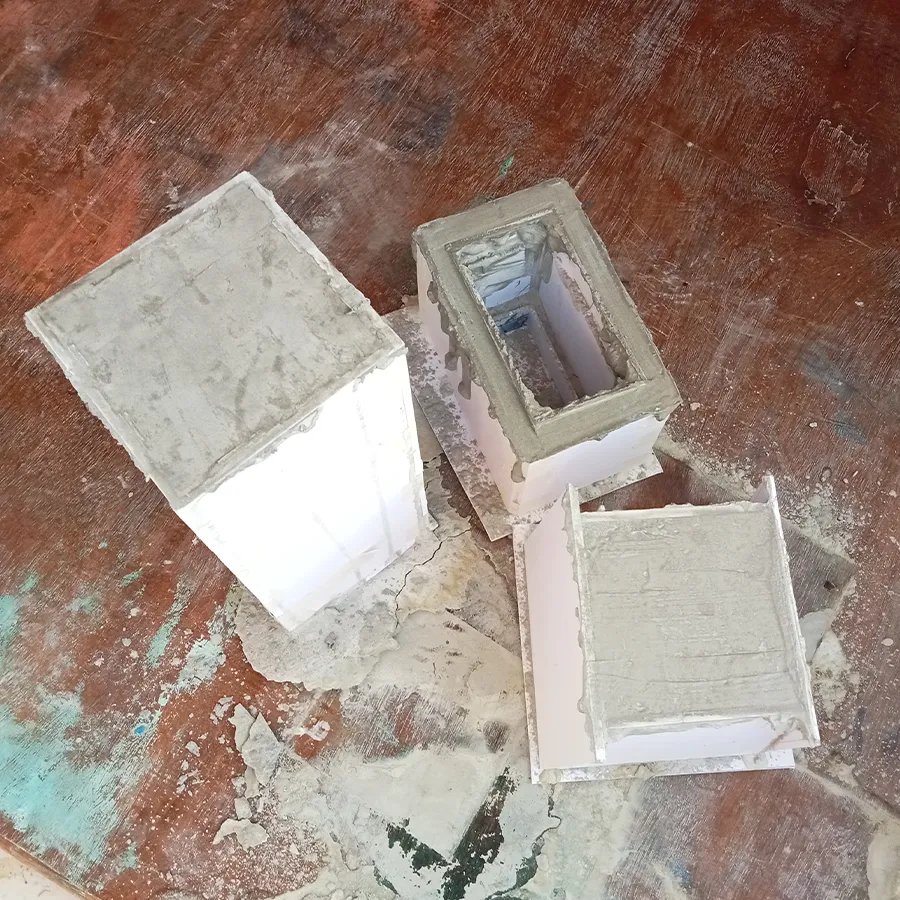
After 12 hours, the cement had partially cured. Once it reached this stage, I covered it with a thick cloth and kept it damp to allow the cement to fully cure and harden completely.
5. Detaching panels from the cured cement mold
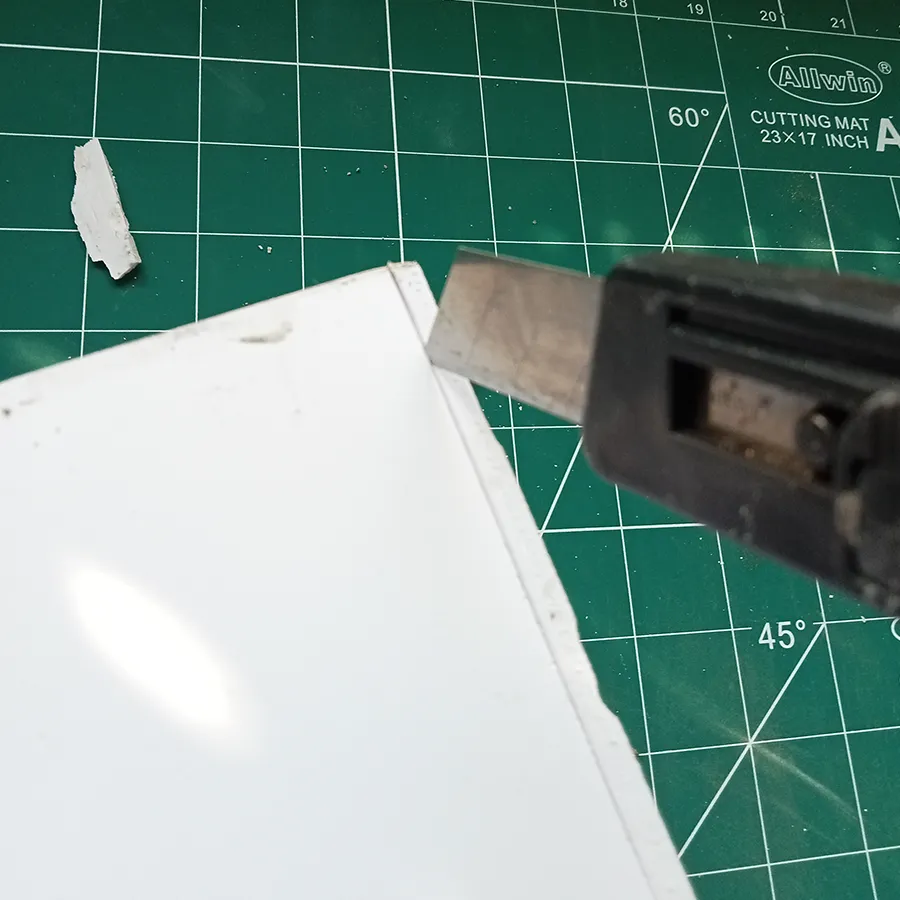
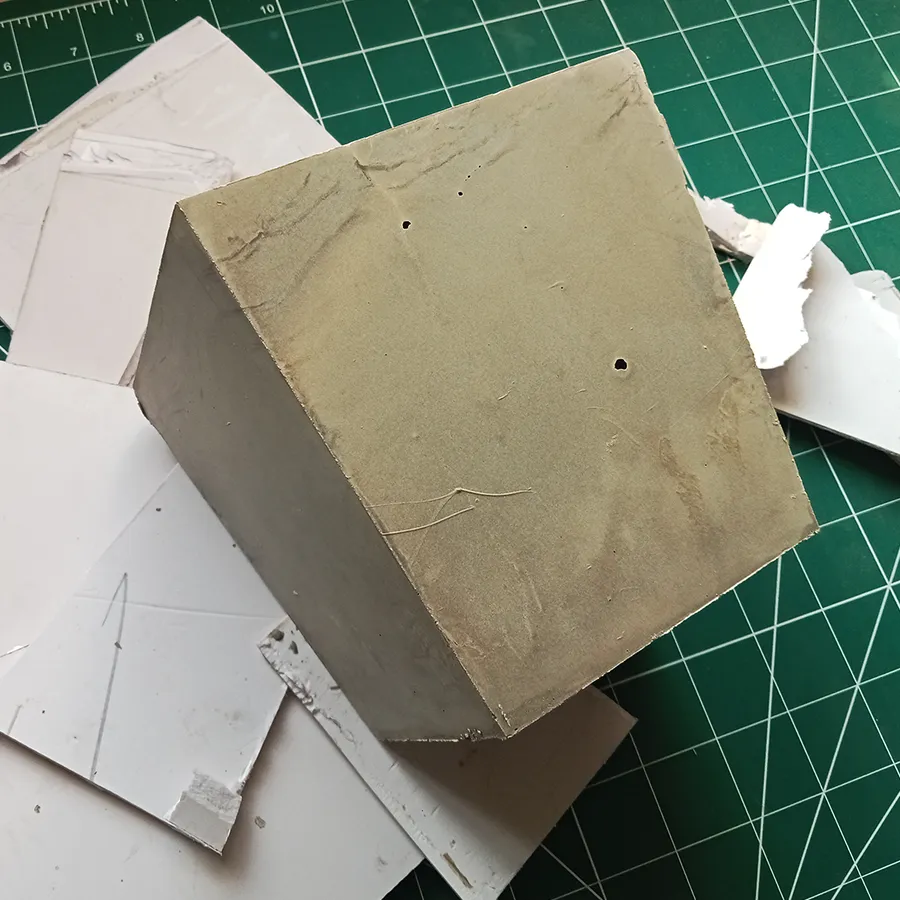
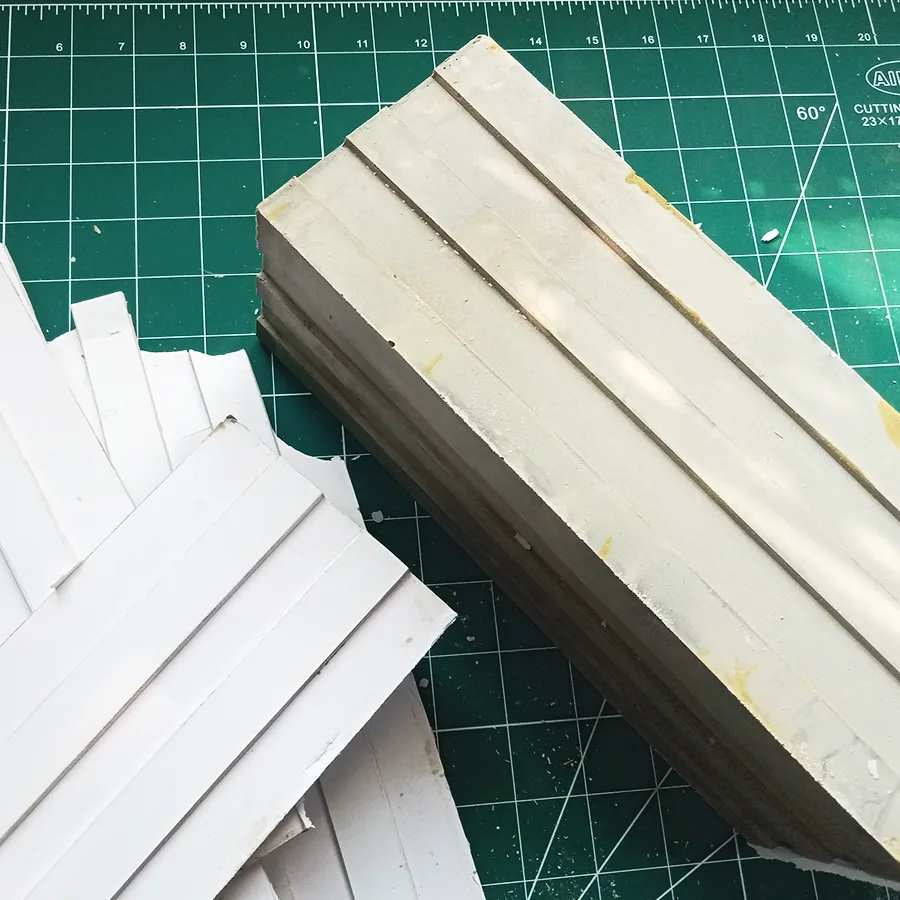
Detaching the inside panels of the pot proved challenging due to the 4mm thick foam board, which was difficult to break or bend. In contrast, removing the speaker enclosure panels was much easier. I used a 2mm foam board for molding the inside areas, allowing the panels to come off or be cut more easily. To detach the panels, I carefully used a knife to break the glue at the panel gaps. Then, I reattached the inner panels with a steel ruler.
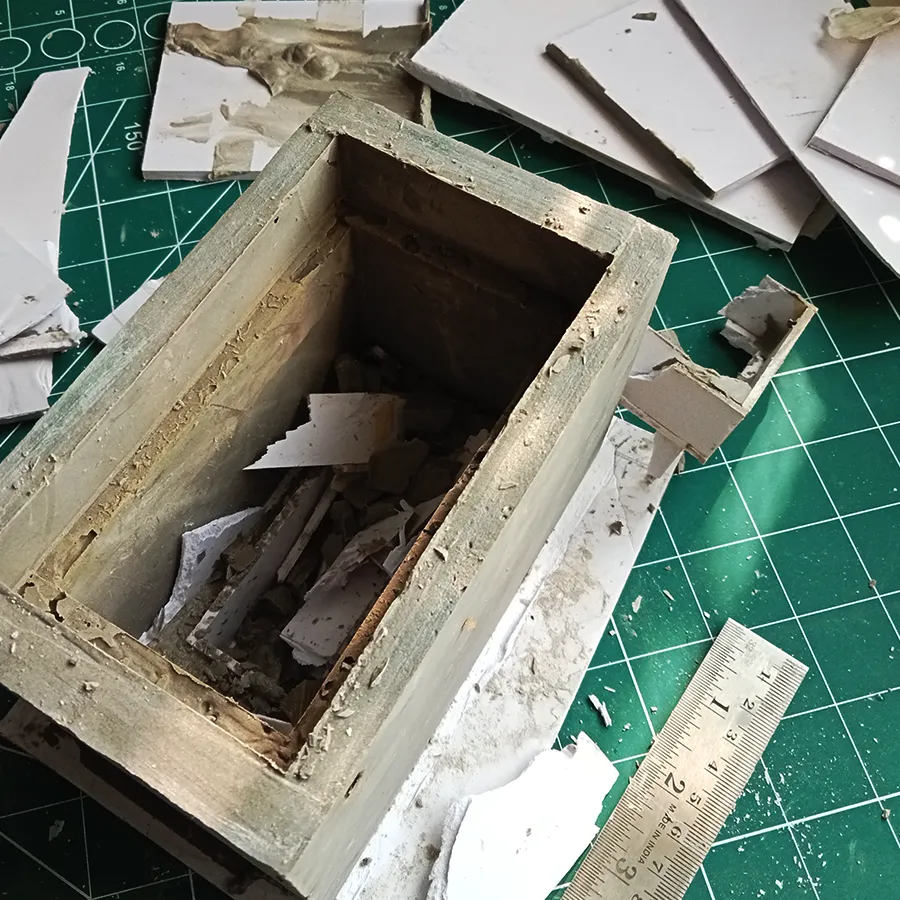
6. Finishing
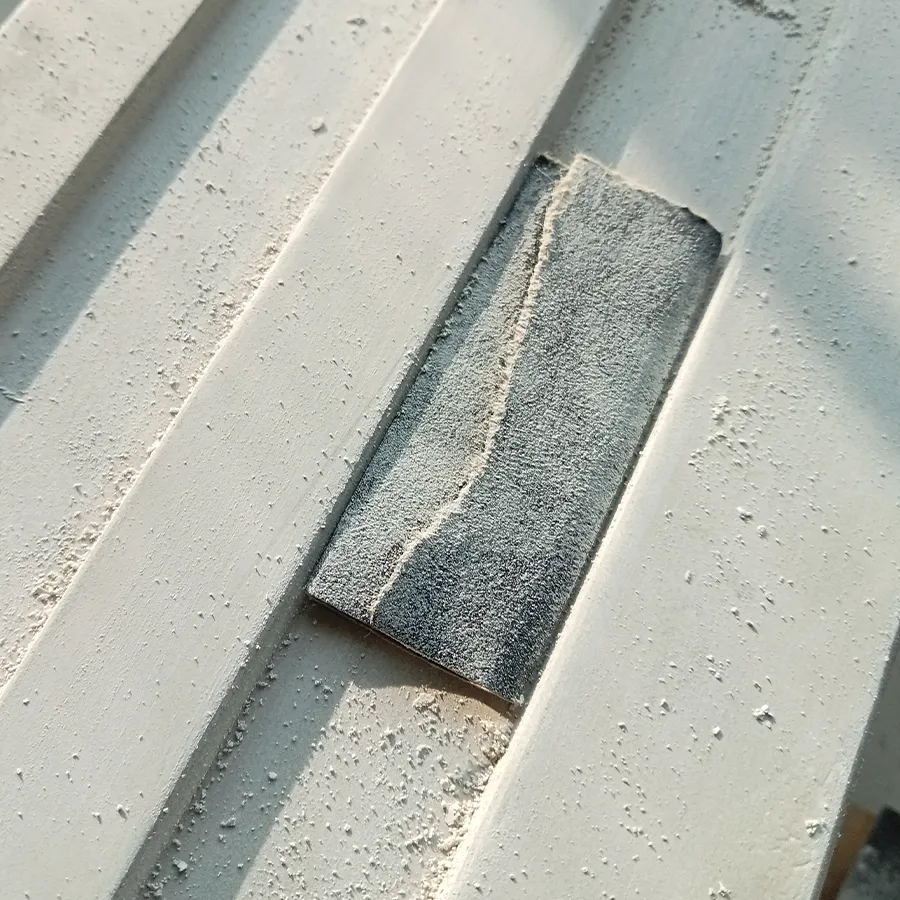
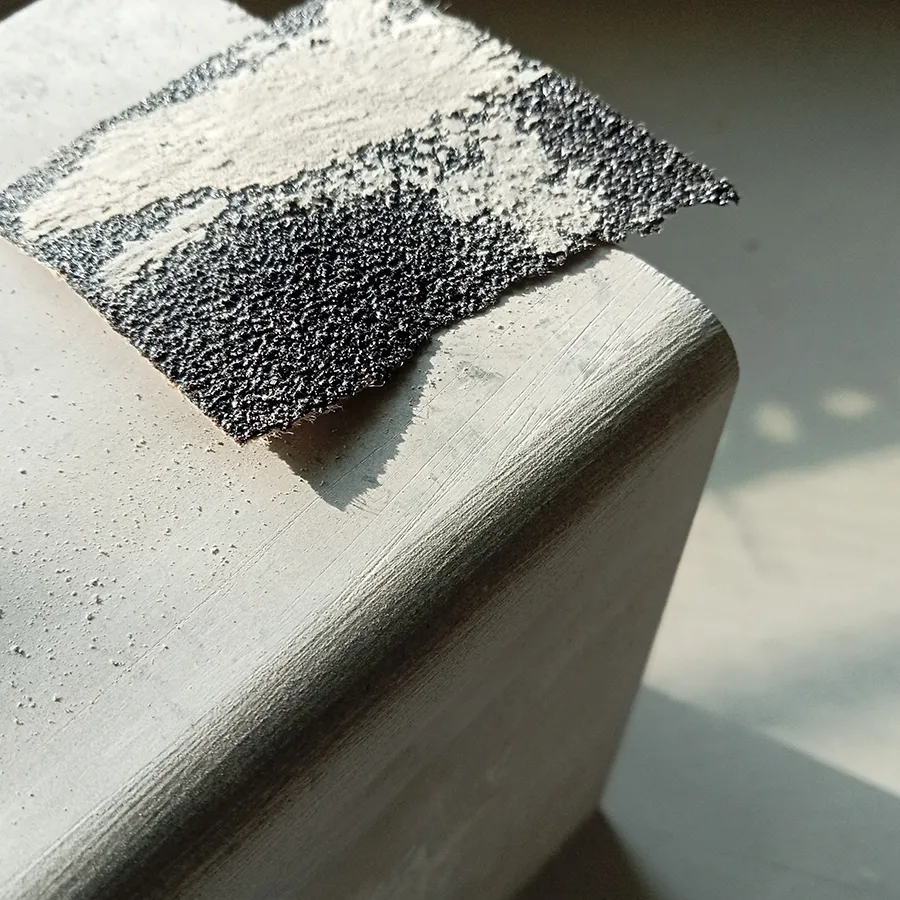
I used No. 320 sandpaper to smooth the mold’s surface and No. 60 sandpaper to create a rounded edge. After sanding, I applied a matte clear coat.
7. Speaker Panel
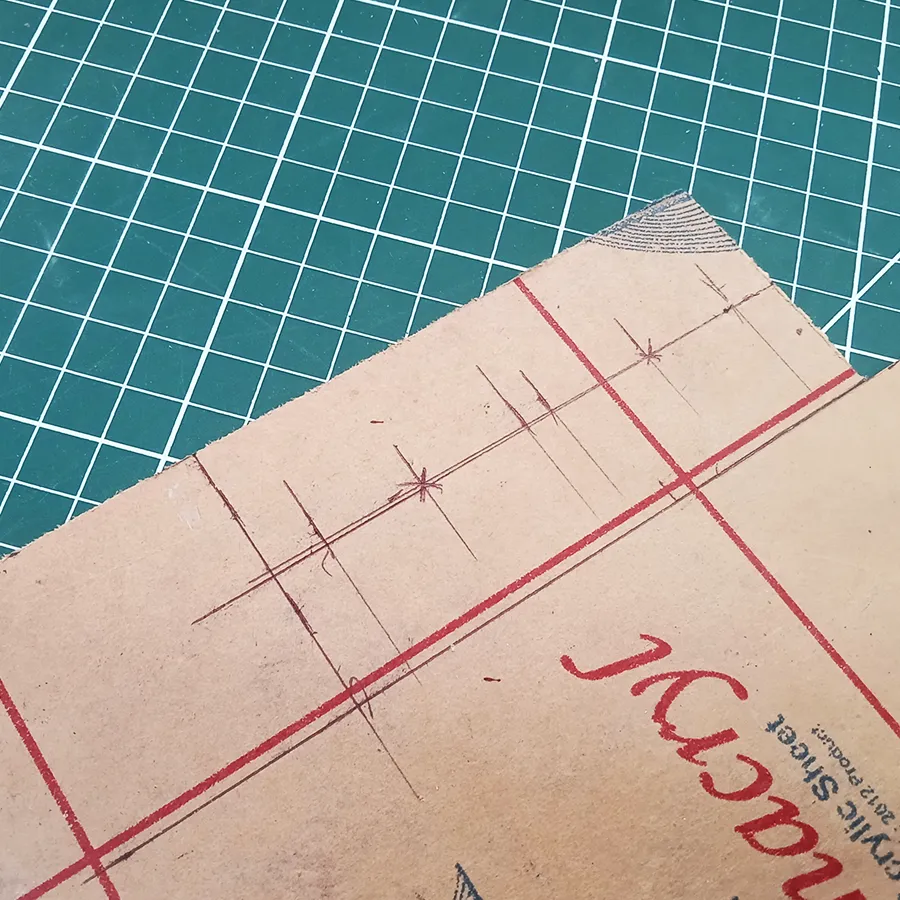
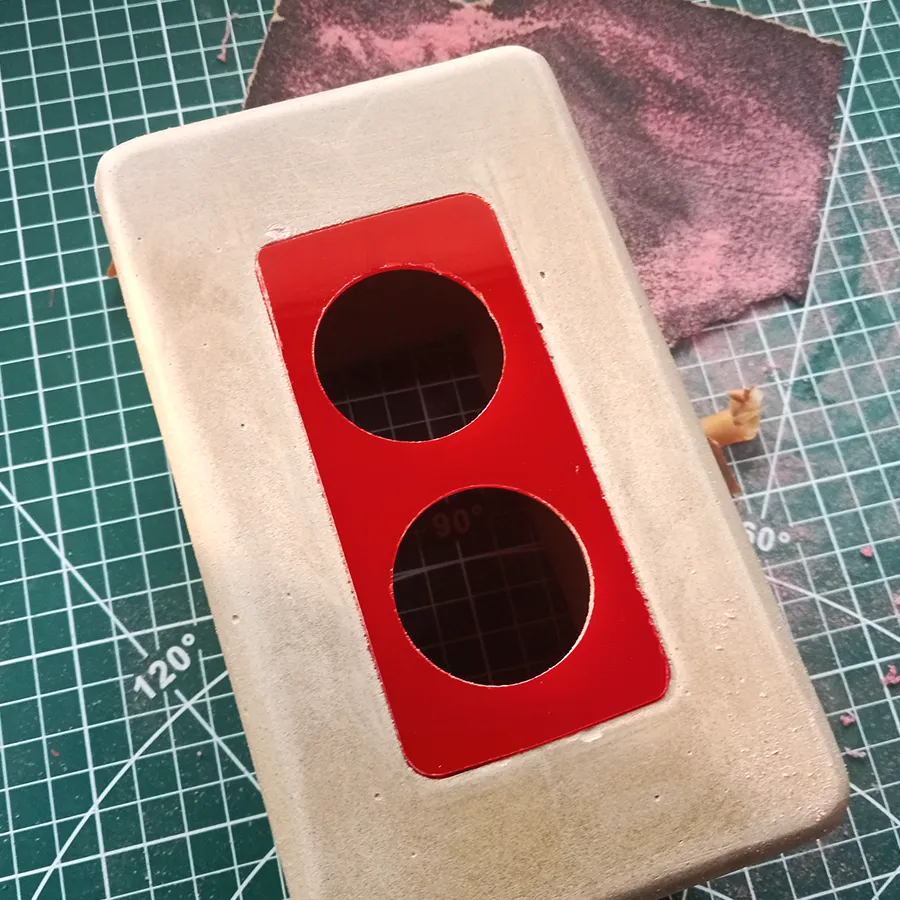
I created a 3mm acrylic panel with two 30mm holes to mount the speakers. The panel’s edges are rounded and fit into a groove I created at the front side of the mold.
8. Circuit
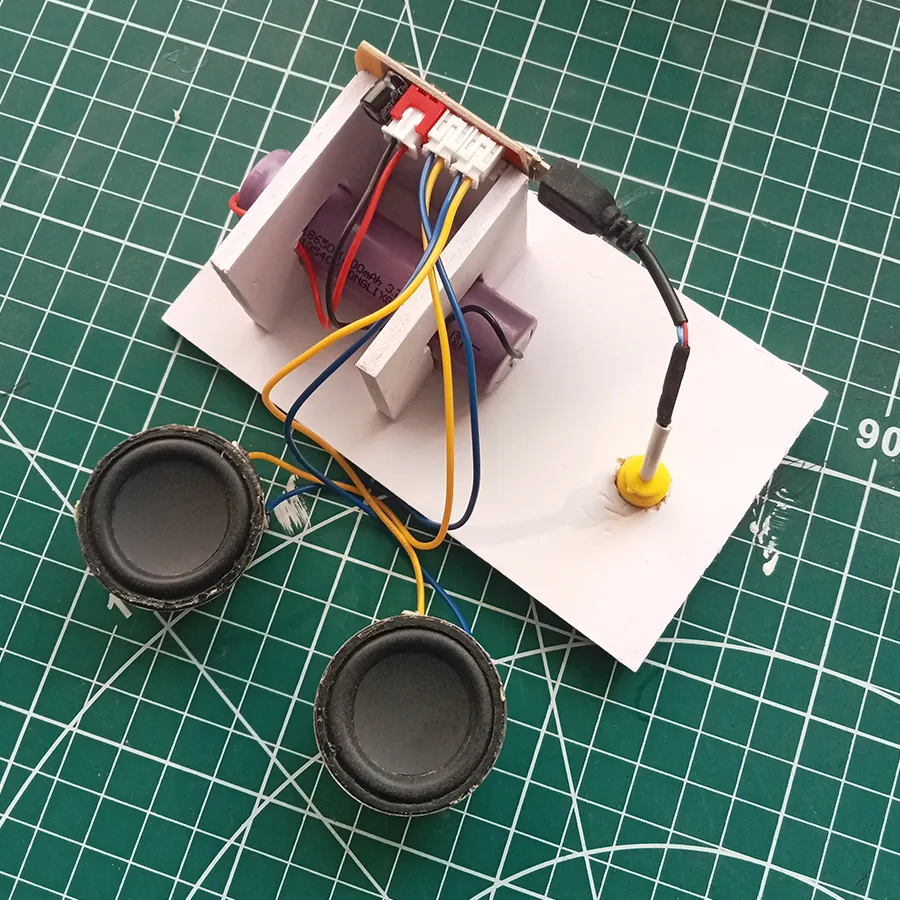
I used a CT14 Bluetooth module that requires 3.7V to 5V power, paired with a 3W stereo amplifier. The setup includes two 3W speakers and a 3.7V, 2000mAh Li-Ion battery. Both the battery and module are mounted on the back panel, along with a USB-C charging port.
Final DIY concrete flower pot and speaker enclosure